
Homemade Pickles, Full or Half Sour
I confess, I salivate even as I write the name of this post. I looooove pickles and while I don’t snoot even the canned version, when you make your own it’s so satisfying and they taste like Gus’ pickles from the Lower East Side of New York City. My Germanic mom wasn’t all that into them and was horrified at the notion that they (at least in my youth) were scooped by hand out of the barrel, but we adored the full sour pickles to the point of craving.
I have made pickles in the past but although I pickle vegetables quite a lot, real cucumber pickles I do less often. I guess since the main ingredient in this recipe is patience. Yes, that dreaded word in this world of instant, ya gotta wait till they pickle properly. Now if you are one of those people who prefer half sour (I forgive you) it goes faster, just sayin’. But, if like me n DH you are a full sour person, it’s about a week of waiting. You don’t have to do anything after the initial prep but ya gotta wait. Sorry Charlie, so be it.
My FIL, of blessed memory, used to make me laugh each time since he was a half sour guy and simply couldn’t fathom our love of full sour or as he called them, “spoiled pickles”. I still laugh and still miss him. So I have him in mind when I dedicate this recipe to his memory, he would’ve loved eating them and would’ve teased me about it.
Okay, onward. You need the right sort of cucumbers for this, and though there are arguments, basically, I believe if it’s small enough to pack into a jar and not too ginormous, it’s fine. Others will tell you gherkins, bumpy skin yadda yadda yadda. Nope, I just say not too big.
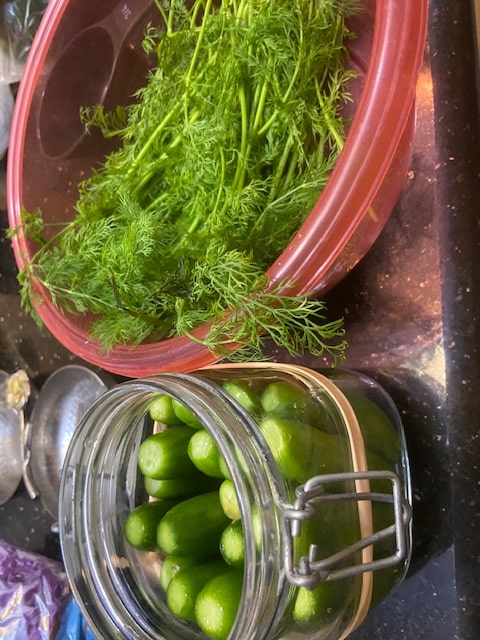
So I waited till they had some of those nice mini cukes and snabbled some.
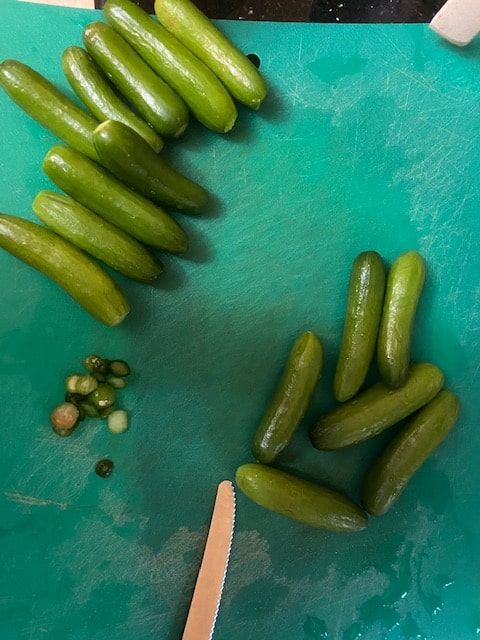
See, this is the size I mean. K. Scrub them well. Next chop of their heads and tails, just barely. It’s important since if the blossom end stays on, it can cause the cukes to mold, something definitely not to be desired, so I just do both ends to give a nice symmetry. But really just a tiny bit on both ends.
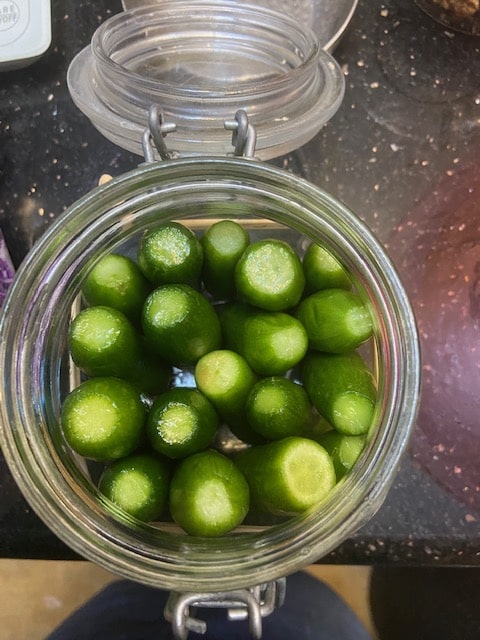
Next find yourself a glass jar. It can be a rinsed out jar of something just make sure the mouth of the jar is wide enough to get pickles in and out.
Put your cucumbers into the jar.
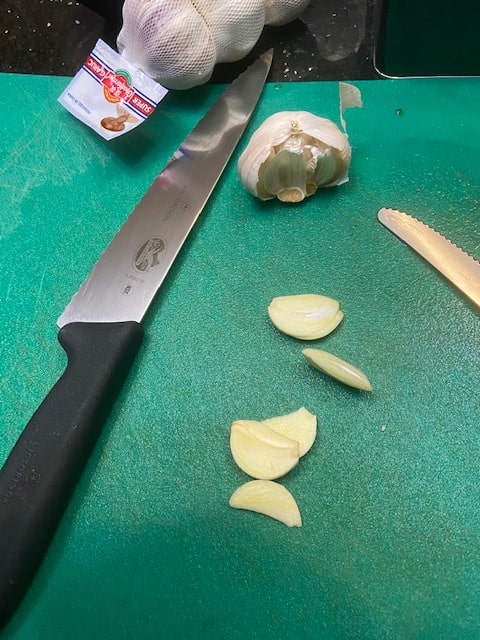
Peel some garlic cloves and slice thinly, set aside.
Take your well washed dill and break into small fronds. The fronds are individual stalks of dill.
Tuck the garlic and dill in and around the tightly packed cucumbers. Then shake in a few whole black peppers and some mustard seed. If you don’t have any mustard seed, if you have a small hot pepper you can use that. Neither DH nor I like too much heat so I almost never have them unless Netanel is around and buys some. 🙂 .
Okay this part really is important. You prepare the brine in a glass or bowl NOT directly in the jar with the cucumbers. You need to make sure the salt has melted into the liquid. So, you use about 1/4 cup of boiling water and dissolve the salt in it, stirring till it’s incorporated. Now I use kosher salt for this or coarse salt which is NOT the same as regular table salt. Since it’s coarse, you use more than table salt but the conversion rule approximately is for 1 tablespoon kosher or coarse salt, use a scant 3/4 tablespoon regular salt. This is approximate. The other trick is to make a whole quart worth of the brine (4 cups) since you don’t know precisely how much liquid will fit in with the cucumbers. So worst case scenario you have excess brine. No big.
Onward. You now dilute the brine (1/4 cup) with cold water since you don’t want hot water on your cucumbers. Then, after stirring it up, pour into the jar till the cucumbers are completely covered.
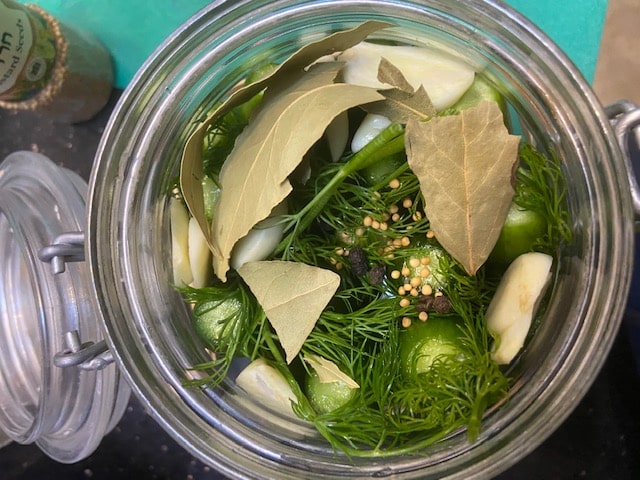
Note the bay leaves tucked in as well. These help keep the pickles crunchy so don’t skip them. Okay, now here’s where I do something a little weird. My friend Shira told me years ago that her mom put a piece of rye bread on top to keep the pickles submerged in the liquid, if you don’t keep them submerged they will get moldy and ruined. So I once tried that trick and sorry Shiraleh, but no, just no. It was a mess and a disaster. So, (don’t yell at me health food nut people out there, please) I use a small plastic cover turned upside down (a mayo plastic jar cover) to keep them under the brine and it works a treat. One more little tip to save you aggro. Keep the jar in a small bowl which will hold the pickle jar well cuz the fermenting pickle juice will probably definitely leak somewhat. No worries, your bowl will catch the drips. I peek when that happens to see there’s still enough liquid in the jar and sometimes just pour the liquid right back in. Just whatever you do, make sure they are completely covered with brine. And now we wait.
DAY 2
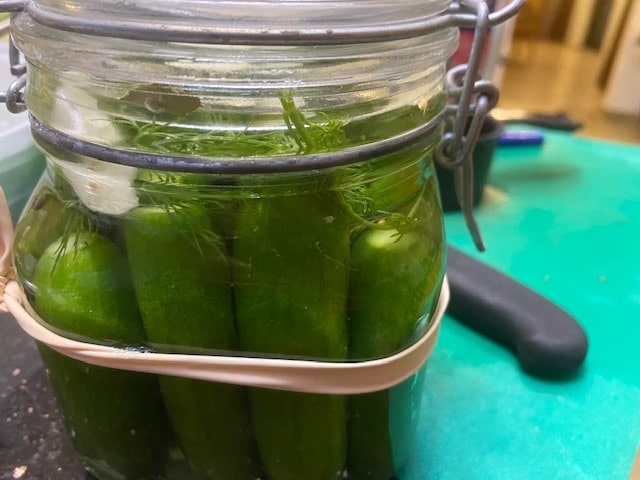
A little less green. Good, we are getting there. I skipped a bunch of days since the change wasn’t dramatic, but this is day 5.
They get a yellowy green. Good. By the way, they are fermenting but you don’t see too much bubbling. Also good. So as I mentioned we like full sour. If you want them half sour, this might be fine for you at day 5.
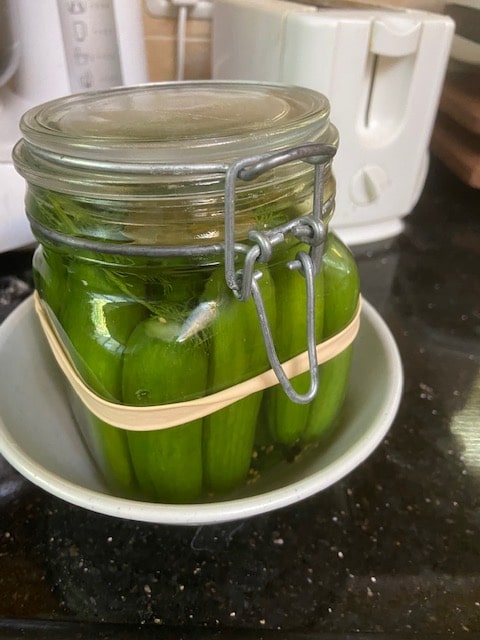
Day 7.
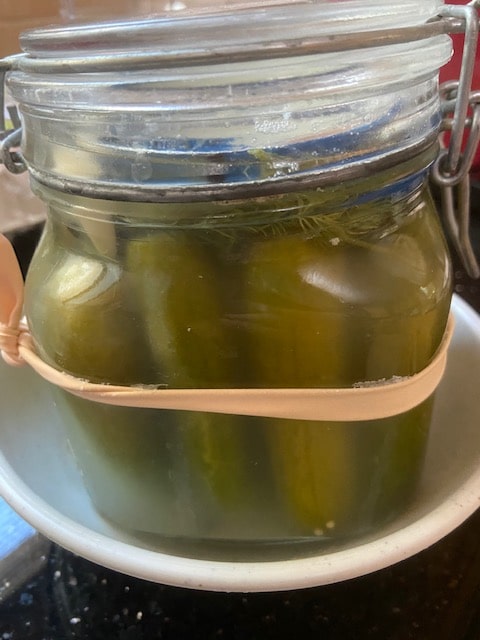
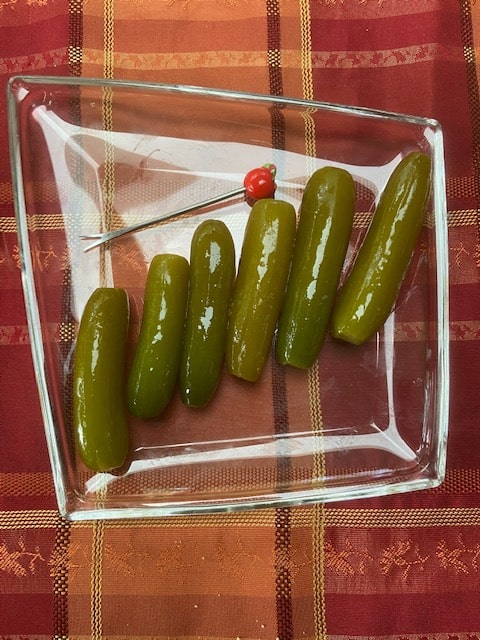
Note the yellower color and a bit of cloudiness. These were perfect and still crunchy, yay! By the way you see the blue plastic cover? Weird but it works well. When done to the degree you like, store in the fridge.
Now they are beautiful deli pickles which you can eat as is, paired with a corned beef (salt beef to my English buddies) sandwich or as part of your salad spread on your table. We need no excuse for pickles. We just eat ’em!
Homemade Pickles, Full or Half Sour
20 or so small cucumbers (judge by how many fit in your jar)
1 3/4 tablespoons kosher/coarse salt OR 1 tablespoon regular table salt, dissolved in 1/4 cup boiling water
water
1/4 teaspoon mustard seed OR small jalapeno pepper or other hot pepper, small, really
1/4-1/2 teaspoon whole black peppers
2-3 bay leaves
4-5 dill fronds or stalks
3 peeled and sliced garlic cloves
Directions:
Scrub your cucumbers and cut off their heads and tails (just a bit off each end). Pack them tightly in a glass jar with a wide mouth and a lid or cover, making sure there’s enough room to cover them with liquid. Take the dissolved salt in the 1/4 cup boiling water and add cold water to make 4 cups in total in a separate bowl/measuring cup. Set aside. Put the mustard seed or hot pepper tucked into jar, black pepper and bay leaves and the dill and garlic scattered in and about the cucumbers. Pour the liquid brine over the cucumbers until they are completely covered by the liquid. Take a plastic lid or crunched up plastic wrap or other non reactive object to hold the cucumbers down. They won’t try to float yet since they are tightly packed but with each day of pickling, they get a bit smaller and this will keep them submerged. Place the jar in a bowl to catch any leakage of fluid. The pickles should be left on a window sill (no sun necessary) or other out of the way spot to ripen.
Wait at least 3 days or so for half sour, 5-7 days for full sour. Make sure they stay submerged all the while in the liquid. When ready, remove to fridge to store. Try to eat within the week.


Hi,
Most simple brine recipes call for equal parts of apple cider vinegar to water. Is there a reason vinegar isn’t being used here? Will the pickling taste the same?
Yup! I infinitely prefer brined pickles to vinegar in taste and quite simply, you don’t taste vinegar.
Do you seal the jar after making or leave it on but not sealed or leave nothing on. If you seal it do you burp it after a day? you can respond to my email hopefully before shabbos
Hi Martin, sorry just saw this. Yes, I thought it was clear from the picture that I close it but leave a bowl beneath to catch any overflow. Don’t seal tightly but loosely. In other words, if you note the picture, don’t press down on the metal clamp to hermetically seal it, just close it. Good luck!
Hi,
But in the pictures it seems that the metal clamp is all the way down.
I’m confused.
And where do you place the upside down mayo cover? I don’t see it in the picture. If I close the jar and seal it – then doesn’t that promise that the cukes will always be covered in brine?
Thank you for this recipe,
Ethan
Brilliant! I tried it twice so far. Much thanks!
I’m delighted to hear it!
Hello,
Can you cut cucumbers and do spears?
Yes you can although I rarely do it. It may mature a bit faster than the whole cucumbers. Just keep an eye on them. Enjoy!
What size jar is this recipie for? Looks like a quart in your pictures.
It’s a liter which is more or less the same.
Do you leave the lid unsealed?
Hi Dave,
No, it’s closed.
This recipe is IN.CRED.IBLE. I followed it this week for the first time and it was easy and the pickles are excellent! Thank you!
So happy to hear it! Thanks for sharing.
Is there a way to store these pickles long term?
Since I don’t can them (and am no expert on this matter) I don’t see them lasting long term.
Thanks for the info
You’re very welcome!
Without some vinegar what makes the pickles sour ??
The fermentation process, which is achieved by the brining.
Once the pickles are ready to go in the fridge do they have stay under water? I want to take my weight out to use on the next batch.
I keep them in the pickling liquid or they get shriveled and can get moldy.
What’s the purpose of the rubber band and can I use pickling salt instead of kosher salt
The rubber band was left there by accident since I used to make my own starter for sourdough bread and measured it that way 🙂 . Pickling salt is much finer than kosher or coarse salt and so can affect the saltiness of the end product. I’m not sure how to figure out measure to measure and don’t want to mislead you.
Date I am up-to-date four in the pickling process and there’s some white fuzz covering some of the pickles and floating at the bottom, anything to worry about?
uh oh, sounds like it might be mold…you have to be very careful to completely submerge the pickles to prevent this and make sure to use the correct amount of salt. Wanna send me a picture?