
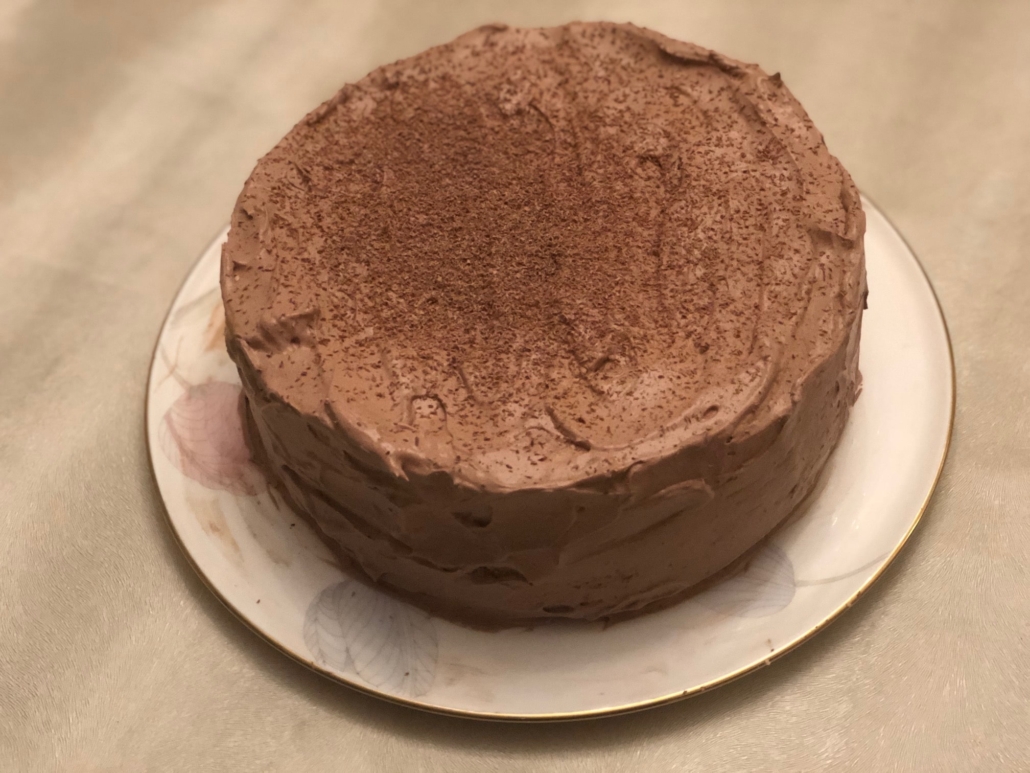
Party Walnut Meringue Torte With Chocolate Whipped Frosting
This is a grand dessert that has a number of steps and it’s why I call it a party dessert for a special occasion. You have to whip both the egg whites into a meringue and separately whip together the topping with whipped cream/non-dairy cream and while the results are gorgeous and supremely delish, it takes more time but its totally worth it. Let me put it this way, both my mom and DH closed their eyes in delight and DH kept asking for another piece. Then, so as not to gorge the entire cake ourselves, I brought the rest to the office were it disappeared light lightning struck and I knew I had a winner.
I made it with non-dairy whipped topping, I particularly like the flavor of the RichWhip, but if you make it dairy, it might have people fainting left and right. It’s actually lighter in non-dairy form but as the mood moves you.
In addition, normally I avoid walnuts since they have a slightly bitter aftertaste and tend to switch them out with pecans, but in this instance, the hint of bitter (make sure your walnuts are fresh, old nuts can go rancid from their natural oils and gahhh there is NOTHING worse than bad nuts in a dish, and after all your efforts, too bad!) with the sweet is nothing short of sublime. One more thing, this is an adapted recipe from my wonderful falling apart cookbook from the fifties Mary Mead’s Magic Recipes For the Electric Blender by Ruth Ellen Church, a treasure trove of oldies but goodies.
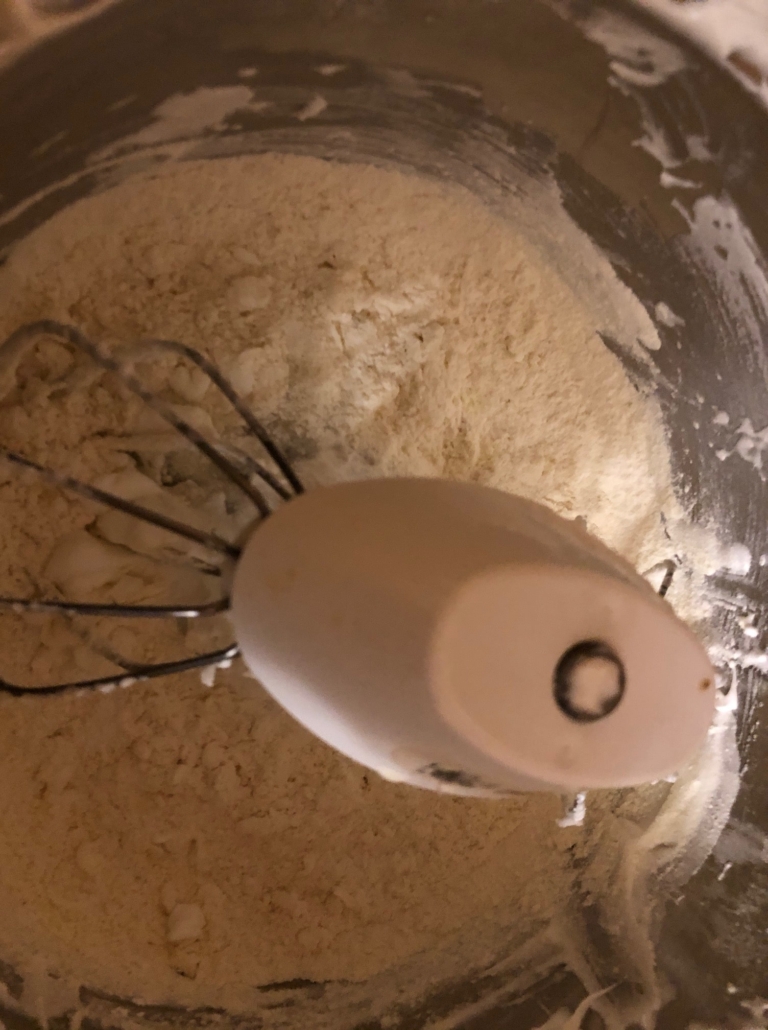
Start with the meringue/egg whites since you can then use the same mixer and bowl afterwards. Separate your eggs, and put the whites into the mixer’s bowl.
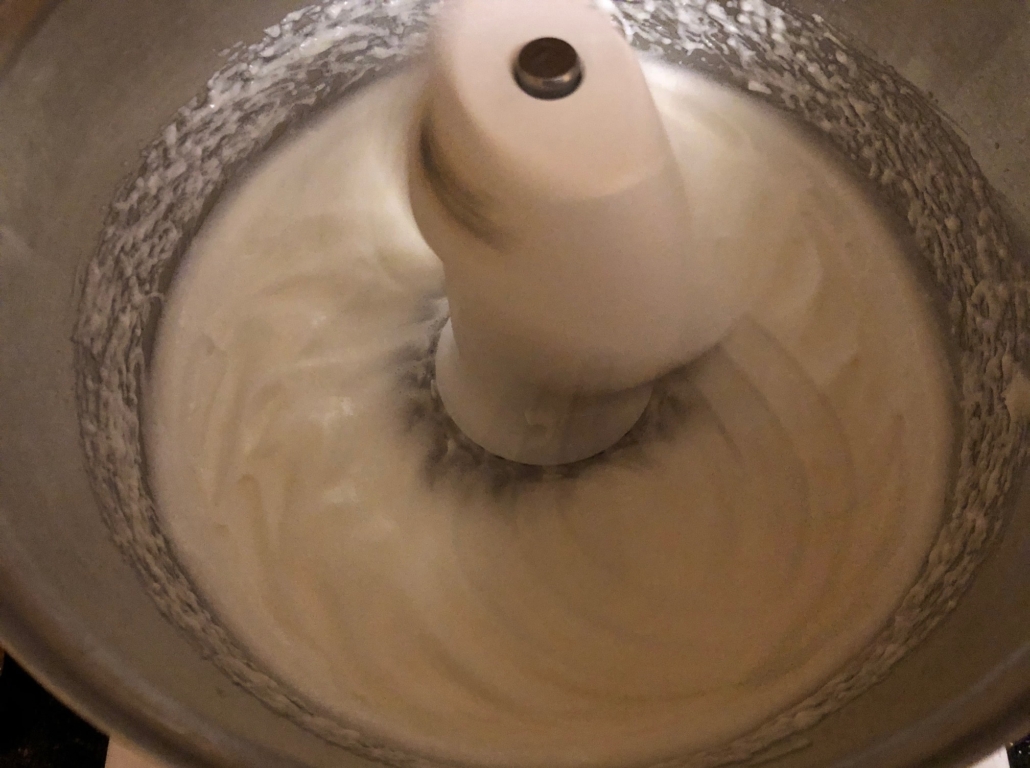
Whip on MEDIUM speed, not high, and yes, it takes a drop longer but I have found the whites to be more stable this way and they don’t “weep”. Add your sugar slowly as well as the pinch of cream of tartar. Whip till a nice meringue-y consistency develops. The trick with the meringue is not to under or overbeat. This is not to be worrisome since you can stop in the middle, lift the beaters and check. This picture shows them not quite done, see that they barely have the whisk marks in it? Keep going.
You continue beating and lift the beaters to see the consistency. If they look like this and the whites “hang” from the beater, you are all good.
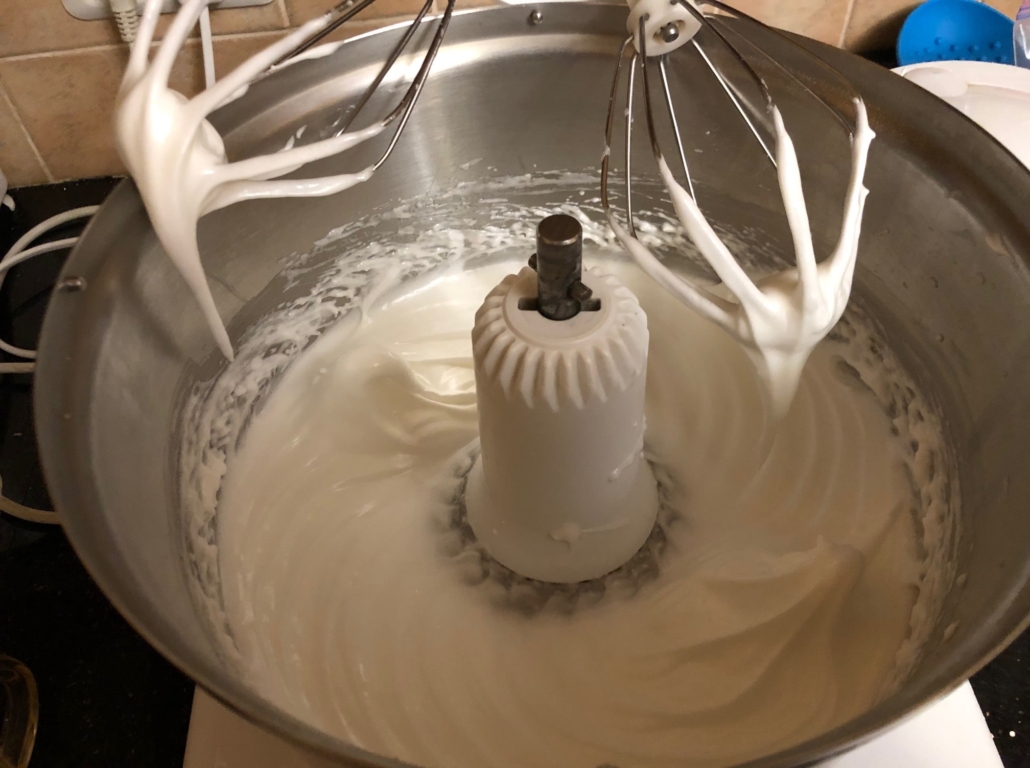
The texture is glossier and the whites stay firmly on the beaters. Take a spatula and gently scrape the lot into a bowl and gently fold in the chopped walnuts and set aside.
Next you make the cake. Now don’t be put off, there is surprisingly little cake batter. That’s okay, it’s meant to be like that since you are covering the batter with the meringue. Together it will be enough to fill halfway two nine inch round cake pans.
As you can see, I mixed it right in the bowl I made the meringue in. Simply put the dry ingredients in mix for a few secs and add the liquid. Whisk just till combined. Take out your pans, oil spray them all over and then (this is important) line them with parchment paper (I have cake rounds) so the cake won’t get stuck. I’m pleading with you here, listen to this part of the directions since the aggravation of the cake not coming out properly makes all the difference to the success of the torte, and this is a cake that will stick. If you oil spray the sides, just putting paper on the bottom is sufficient.
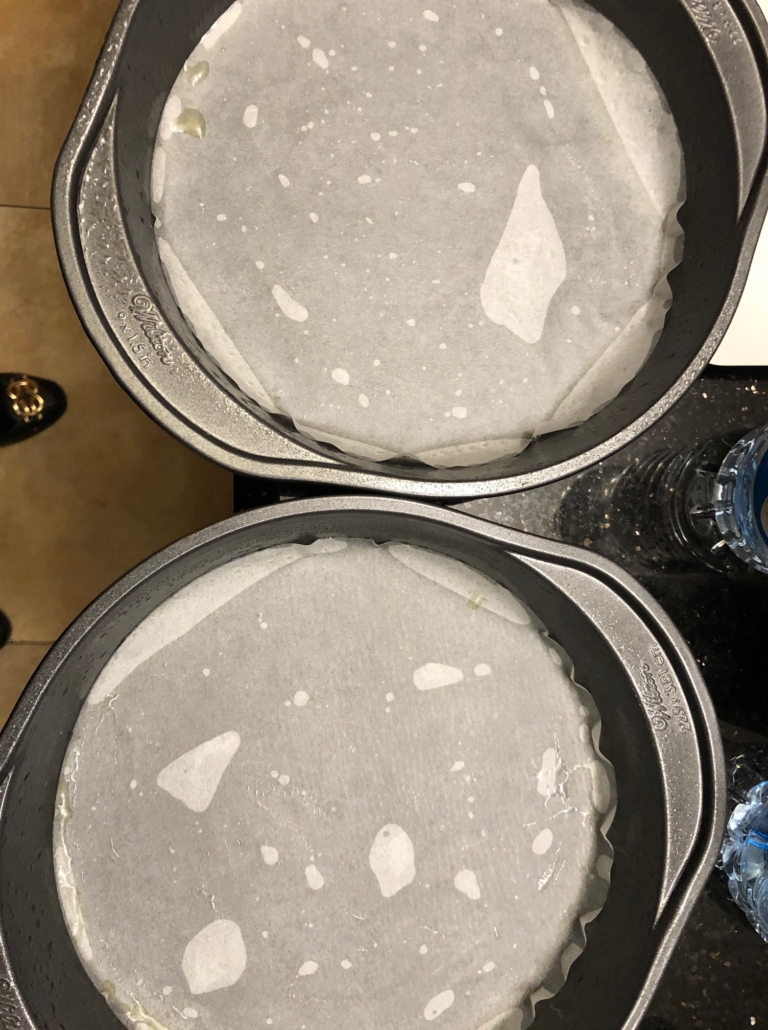
Simple but oh so necessary. Preheat your oven to 300F. NOT 350, you want it on a low oven.
Pour the batter into the prepared pans.
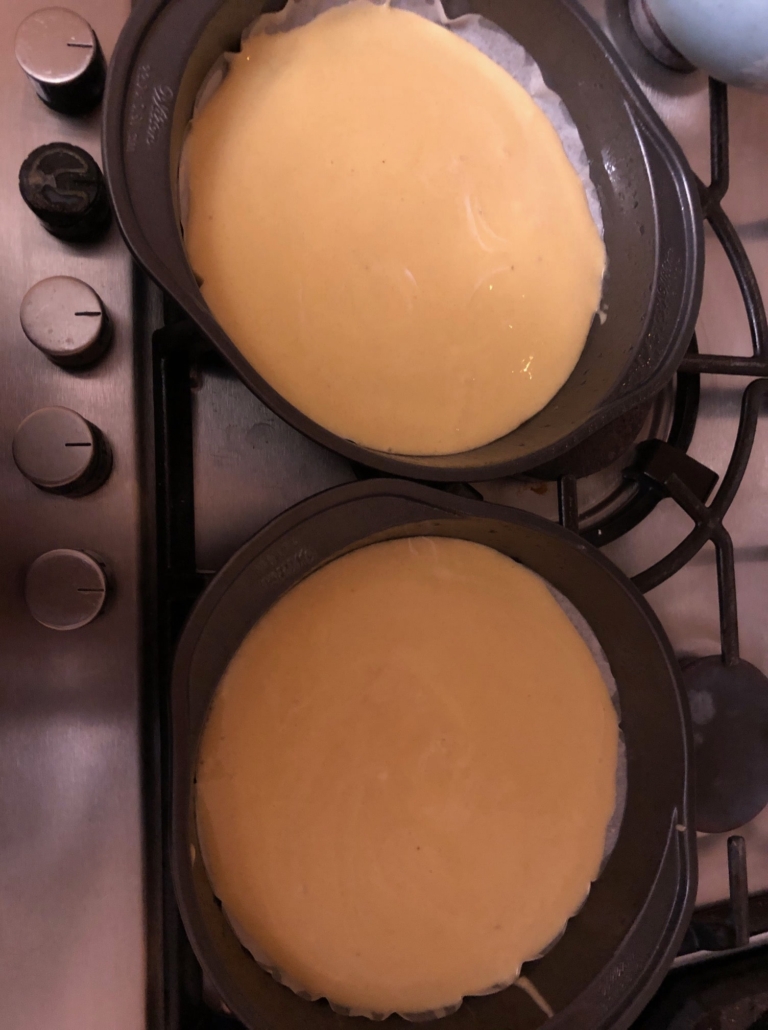
Do you see what I mean? The batter looks like a teensy puddle, barely covering the bottom of the pans. I confess, the first time I saw this, I panicked a bit. I rechecked the ingredients and saw I had done it all correctly and took it on faith. So I say to you, carry on! No fear 🙂 . Next, remember the meringue lurking in the corner with the walnuts folded in? Now is the time. Gently spread with a spatula (offset or regular) evenly between the two pans (yes, I’m obsessive and I weigh it, but you can pretty easily eyeball it) to the ends of the pans. This is important so the edges don’t shrink. Don’t worry, you will after cooling the cakes, easily loosen with a knife.
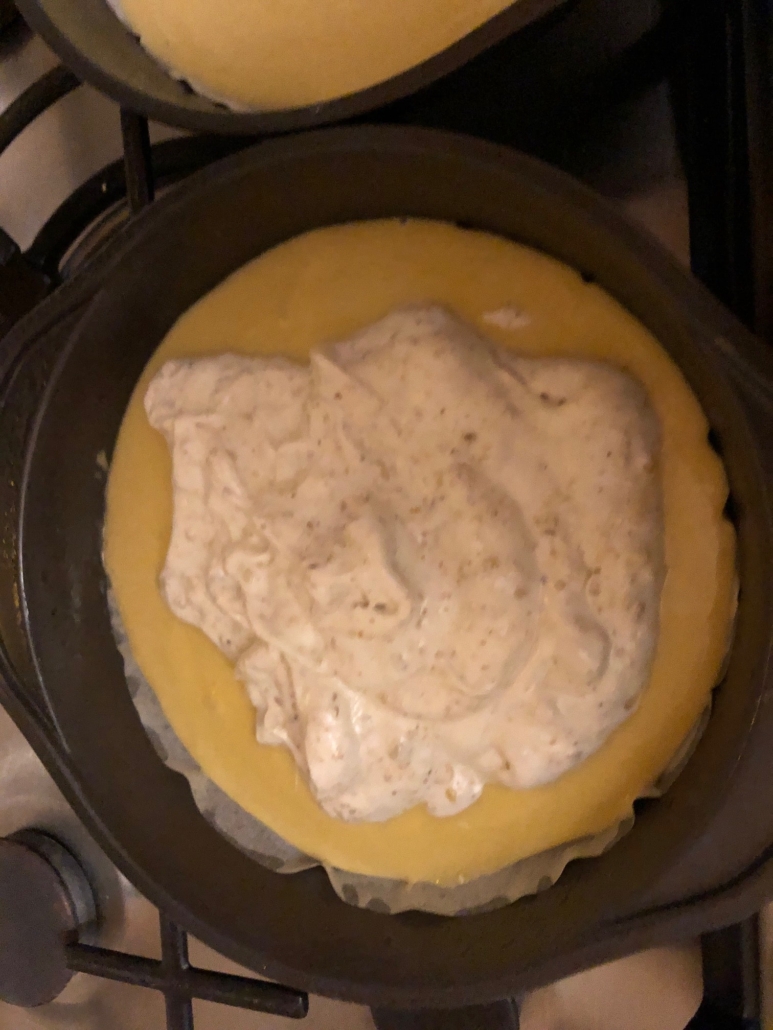
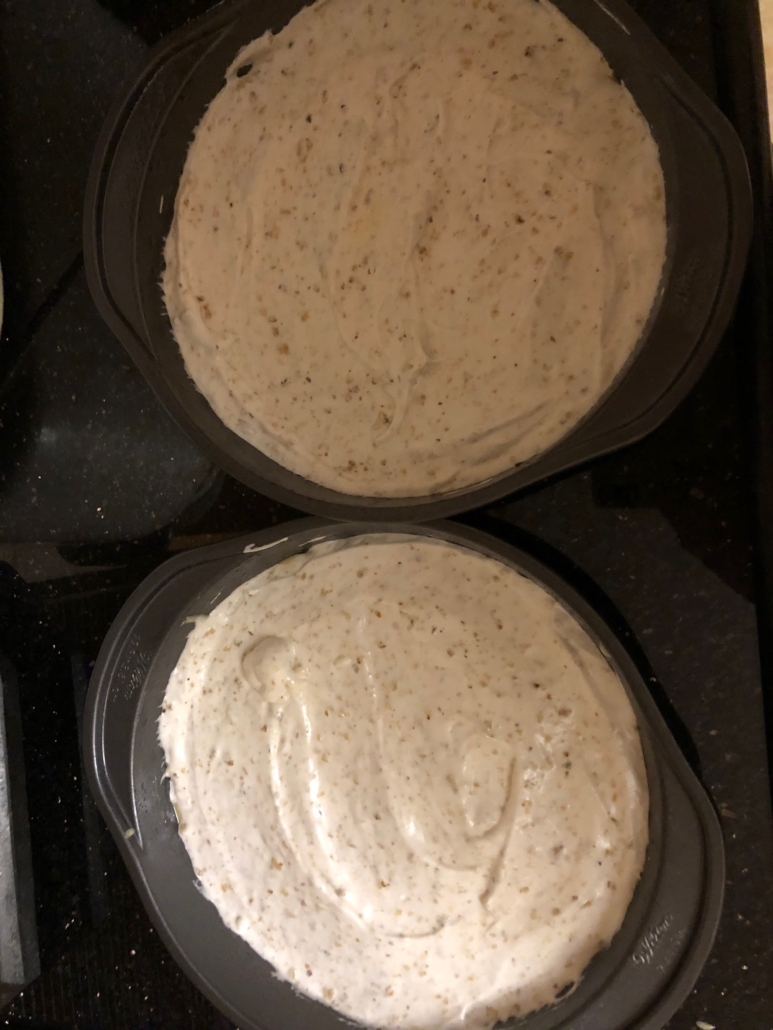
Even now, you can see the batter is not high in the pan only about halfway up the sides. It’s okay, it will rise. Take your pans and place in your preheated 300F oven, make sure it’s on the correct temp since it should bake on low.
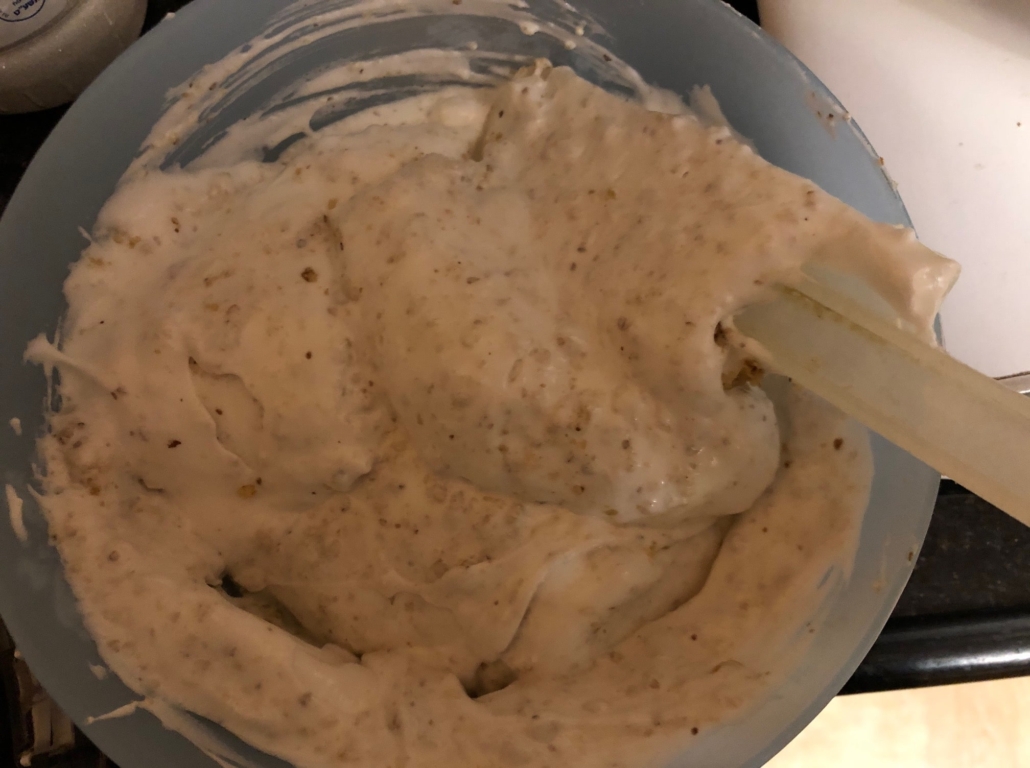
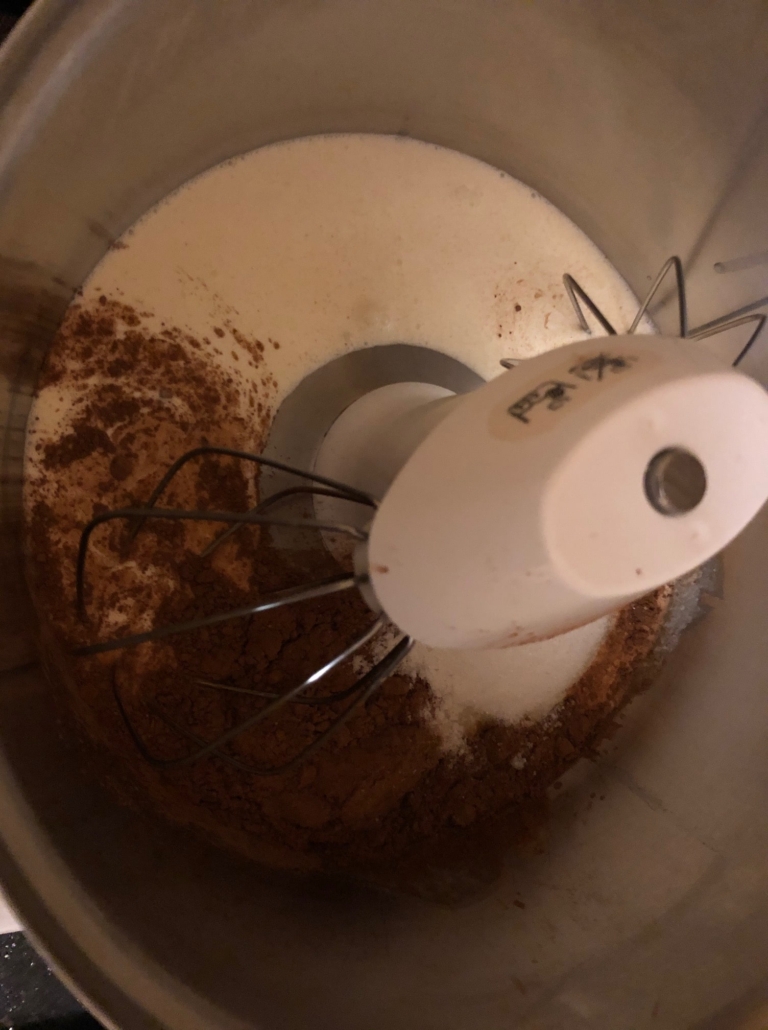
In the meantime, wash out your mixing bowl (yeah, now you have to, what can I say?) and take out your cold whipping cream (dairy or not) and put in dry bowl with cocoa, sugar and vanilla. Mix till combined. If you have time, plunk back in fridge to chill more. If you don’t, just make sure the cream is cold. Then whip together till stiff.
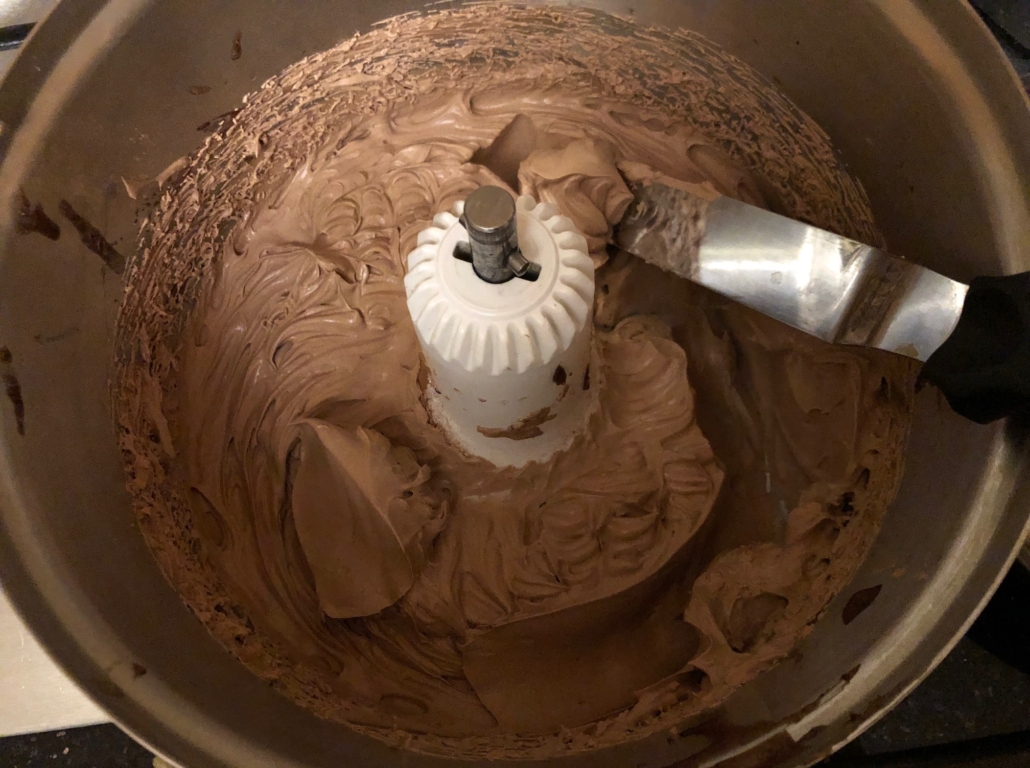
Try not to sneak too much of this, it’s awesome just like that.
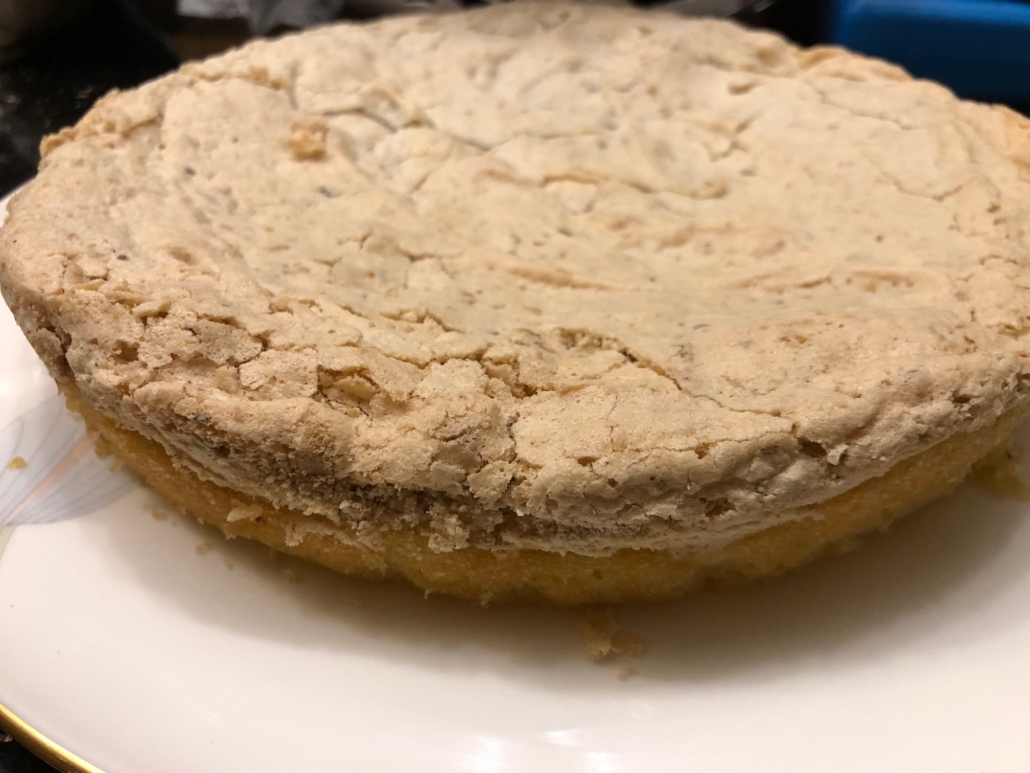
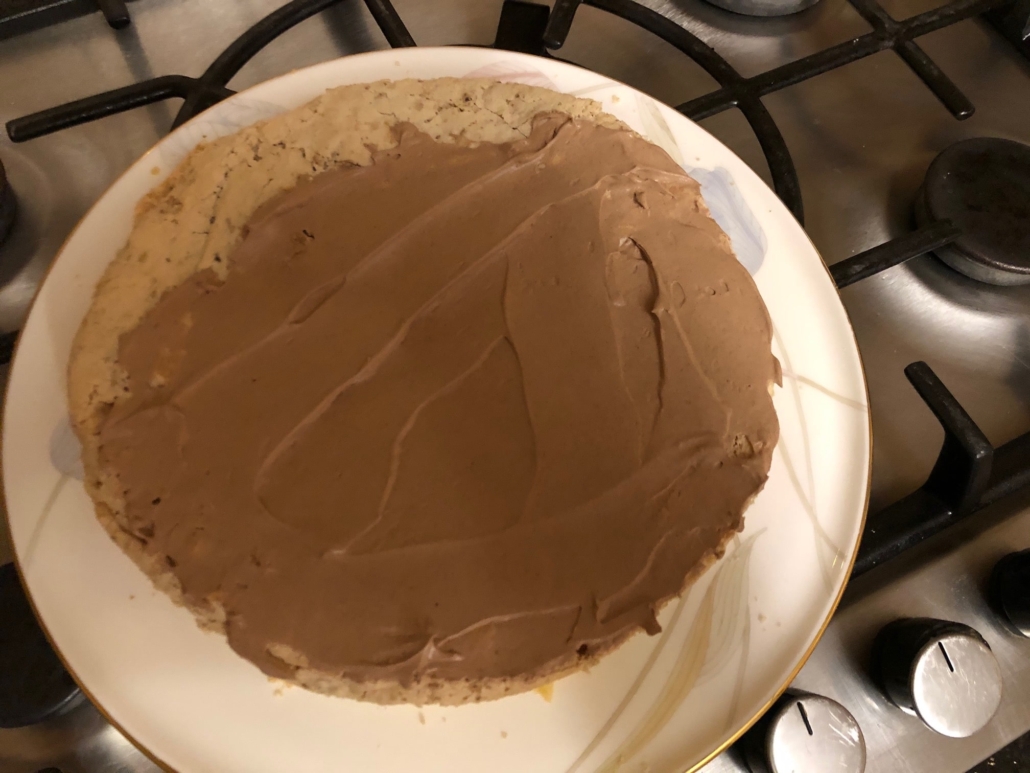
By now, your cake’s been baking. This should take about 30 minutes. Check with a wooden toothpick after 30 minutes, if a bit sticky, another 5 minutes should do it. It should be light brown on top, not darker. Let cool fully on wire racks before cutting around edge to release from pan and gently turning out and peeling paper off bottom. Take a lovely platter and place the first cake meringue side up on it.
Be sure the cake is fully cooled before slathering with whipped topping or your topping will melt, not to be desired!
Take an offset spatula (if you have it, so worthwhile, if not a regular one will do) and generously spread the frosting on the cake to cover top and sides. Just leave enough for the next cake 🙂 . Gently release second cake and peel paper off and place on top of first cake, meringue side up, don’t press down just try to align them. If it ain’t perfect, remember that frosting covers a multitude of sins.
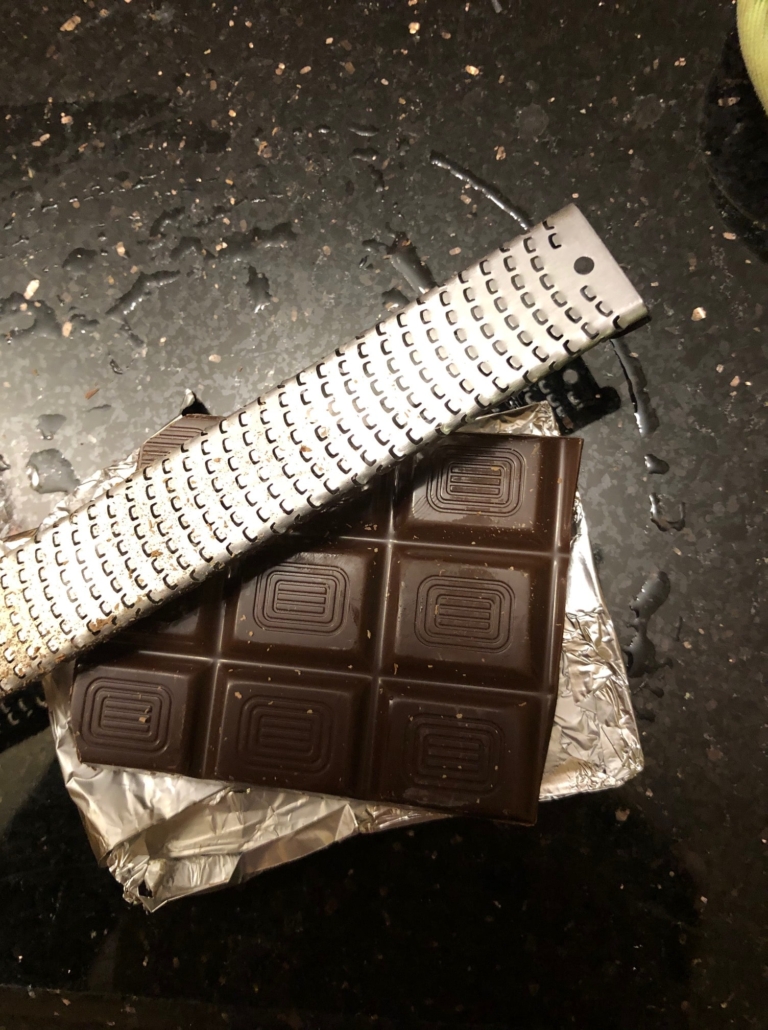
Merrily continue slathering away, making a pattern as you go (don’t make yourself crazy, just have fun, it’s very soothing). Completely cover the cake on all sides, the frosting amount is very generous so you should have no problem. Then take a bar of bittersweet chocolate and using a microplane or grater, grate some chocolate on top to finish off the cake. It should look gorgeous and you should feel great.
I store this in the fridge, make sure to find a tall bowl or if you have a proper cake cover even better. The nicest part is it keeps well for about 2-3 days if you want to make it in advance for a special occasion. Trust me, every bite is awesome and you won’t regret the effort!
Party Walnut Meringue Torte With Chocolate Whipped Frosting
Walnut Meringue
You are separating 4 eggs, save the yolks for the cake batter
4 egg whites
1/8 teaspoon cream of tartar
3/4 cup of sugar
After they are beaten
1 cup chopped walnuts
Directions:
In a mixer with whisk beaters, whisk on medium speed the egg whites and as they begin to whiten, add the cream of tartar and the sugar in a slow stream till they reach a meringue like consistency and when lifting the beaters, the whites cling (see pic above). Scrape out of the bowl into a separate bowl and fold in the cup of walnuts. Set aside.
Preheat the oven to 300F, be sure not higher, this should bake on a lower heat.
Cake Batter
1 cup flour
2 teaspoons baking powder
1/2 cup sugar
1/8 teaspoon salt
1/2 cup oil
1/3 cup milk/soy milk
1 teaspoon vanilla
4 egg yolks
Directions:
Mix in the same bowl as you did the meringue (now moved to a separate bowl) the ingredients for the cake batter, dry ingredients first and one or two whisks and then the liquid ingredients. Mix till just combined. Prepare two 9 inch cake pans by spraying well with oil spray all over and covering bottom of both pans with parchment. It will look like very little batter, this is correct. Pour cake batter evenly into two pans and cover each pan’s batter with the walnut meringue, dividing evenly between the pans, it will come about halfway up the pan, it will rise, no worries. Place in 300F oven for about 30 minutes. If toothpick comes out sticky, bake another 5 minutes and remove from oven to cool on wire racks. Top should be pale brown.
Whipped Chocolate Topping
1 1/2 cups heavy whipping cream or RichWhip non-dairy topping
1/3 cup cocoa
1 teaspoon vanilla
1/2 cup sugar
Finishing the Top
Chocolate bar for garnish
Directions:
While the cake is baking, wash the mixing bowl and dry and pour in the cream, cocoa, vanilla and sugar. If the cream is very cold, you can whip the whole lot together but if you have time, mix the topping ingredients briefly and plunk in the fridge for about 10-15 minutes to cool together. Then whip until a lovely chocolatey color and whipped to nice peaks.
Only when the cake is totally cooled can you put the topping on or it will melt. Take a beautiful platter (this cake deserves it) and unmold the cake, cutting around the edges of the cake to release it and peel off parchment from the bottom and place meringue side up on the platter. With an offset spatula, slather the top and sides generously with the chocolate topping. Then unmold the second cake, peeling parchment and place meringue side up gently on top of the first cake. You should have plenty of topping to equally slather this cake and cover the whole cake with it, making it smooth or pretty patterns as you wish. Take a grater or better yet a microplane and grate the chocolate bar right onto the top of the cake just till it looks like a chocolate light snowfall.
A beautiful dessert, absolutely delish and worthy of a real celebration. You will enjoy every bite and all the compliments.


Leave a Reply
Want to join the discussion?Feel free to contribute!