
Cheddar/Smoked Cheese Drop Biscuits
I confess, as a child growing up, my mom, not a big baker, was not someone who would’ve ever made biscuits, but beyond that, biscuits were what you saw on television, not something you or your friends ate. You saw them in family shows, or people eating them in diners or in Southern cuisine. Your average kosher Jewish household, at least in New York, didn’t even know what a biscuit was (except perhaps those in the South of the United States, but I wouldn’t know). And my English friends, forgive me, I’m not referring to a cookie.
As my interest in cooking and baking expanded over the years, I wanted quite desperately to try a biscuit. Not a pre-made bisquicky type thing but one from scratch. I had read how a proper biscuit would be crispy on the outside and fluffy and flaky on the inside.
I’ve since made them often but since I’m not making them for Shabbat or holidays, I found the rolling out and cutting with biscuit cutters a big pain. So, I decided to go the drop biscuit route but not to change my recipe by adding additional liquid to the batter. After all, cookie dough is quite thick and you drop them too most of the time.
So, this saves the whole rigamarole of rolling out, cutting out and re-rolling scraps that I’m willing to save for special cookies. And ya know what? They taste awesome and look darned good too.
Now the cheese is not either or, I combined the cheddar and smoked cheese for an indescribably delicious flavor. But, if you are a bigger fan of one over the other, simply go with your cheese preference. I was kinda cheap on the cheese this time since I wanted a hint of flavor, almost like a spice as opposed to melty gooey but in the recipe below, I give you enough for a nice meltiness. This time I used half a cup of cheese which you can do if you want the cheese flavoring but the recipe is for a cup and a half. You, my friends, decide the way to go on this.
To our biscuits:
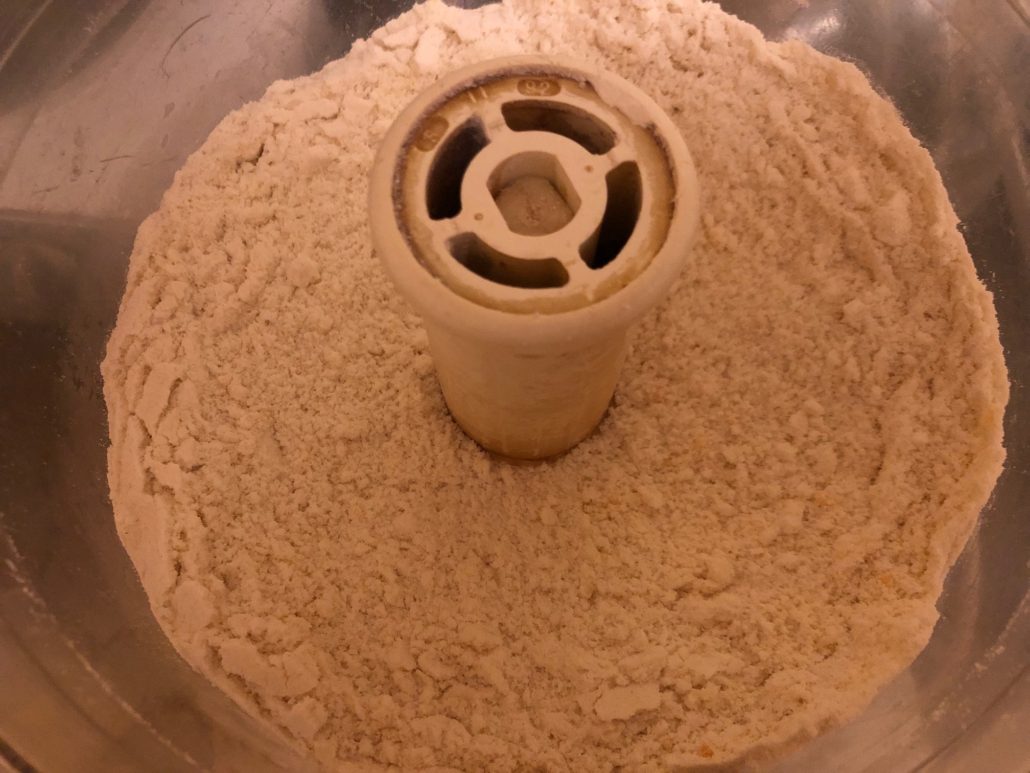
Take your flour and (quite a lot, this is correct) baking powder and salt and put into your food processor and whirl. Then add the butter till the mixture looks a bit lumpy. Now most of the time you will see it say in recipes for biscuits or other pastries of this ilk, till it resembles peas but frankly, it just looks like a rough lumpiness. Little bumps, see below.
Add the cheese, either the combo or your specific preference and the amount you want, either a hint of cheese or the generous amount and pulse briefly.
Next add your combo of yogurt and milk. As I’ve said in the past, I almost never have buttermilk to hand but nearly always have yogurt so I adapt my recipes to this. It still gives you that nice tang and richness. I take my yogurt which is approximately 3/4 of a cup and stir with milk till you get a mixture of one and 3/4 cups total. Pour into the crumbed mix and add the egg.
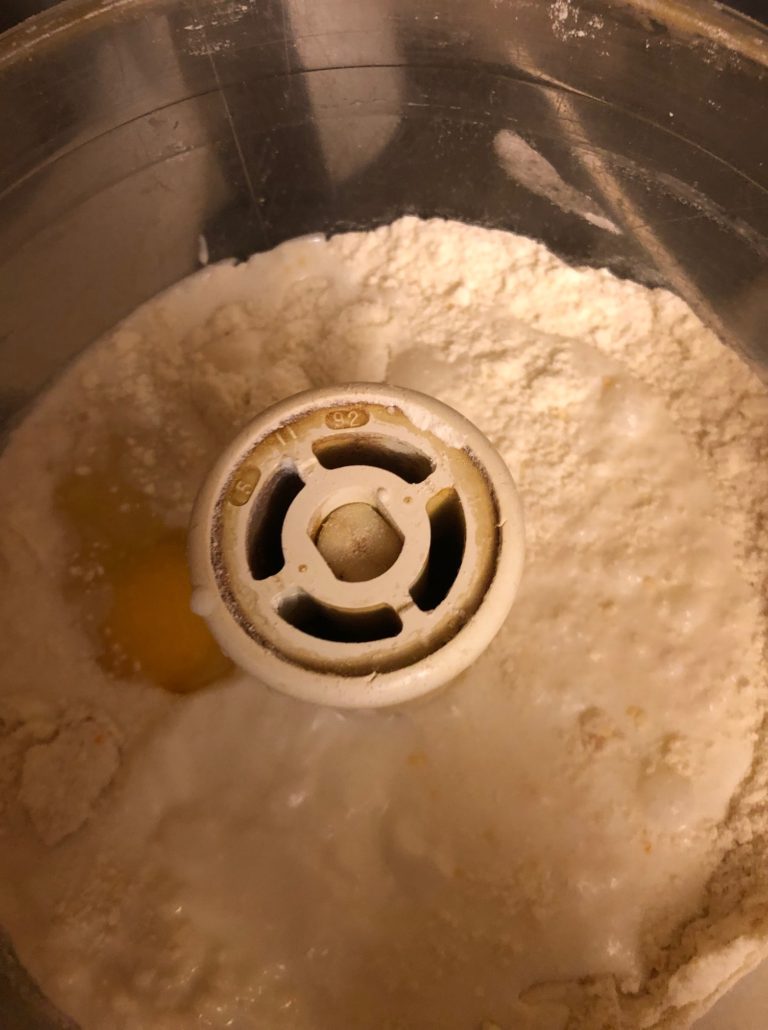
Now pulse just till the mixture comes together (which should happen quickly) and it should look like this:
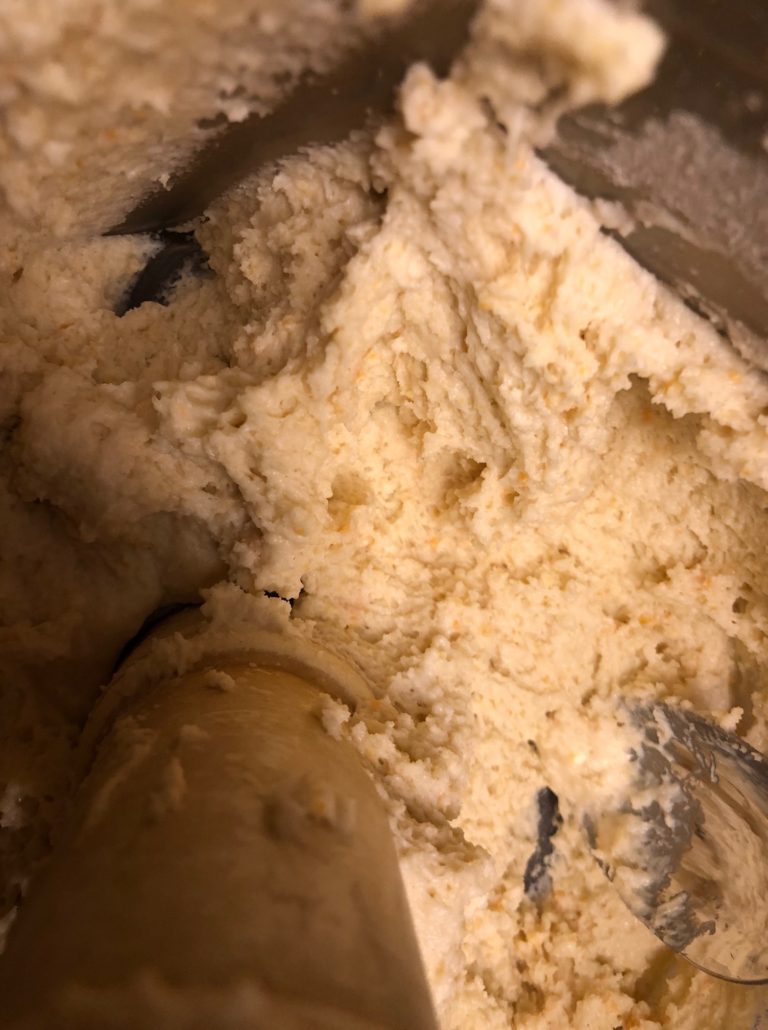
Can you see the bits of cheese nestled in the dough? The dough is very thick and a bit sticky. No need for more flour or you will toughen the biscuit.
Then, take either two tablespoons or an ice cream scooper (this will give you more even amounts but isn’t necessary), and scoop straight onto a parchment lined cookie sheet in little mounds about 2 inches apart. They rise nicely if they have room. What’s very important is that the temp on your oven be 400 degrees since the effect of cripsy on the outside and flaky and fluffy on the inside depends on this temperature. Remember, 350 is not the only temp on the oven 😉 .
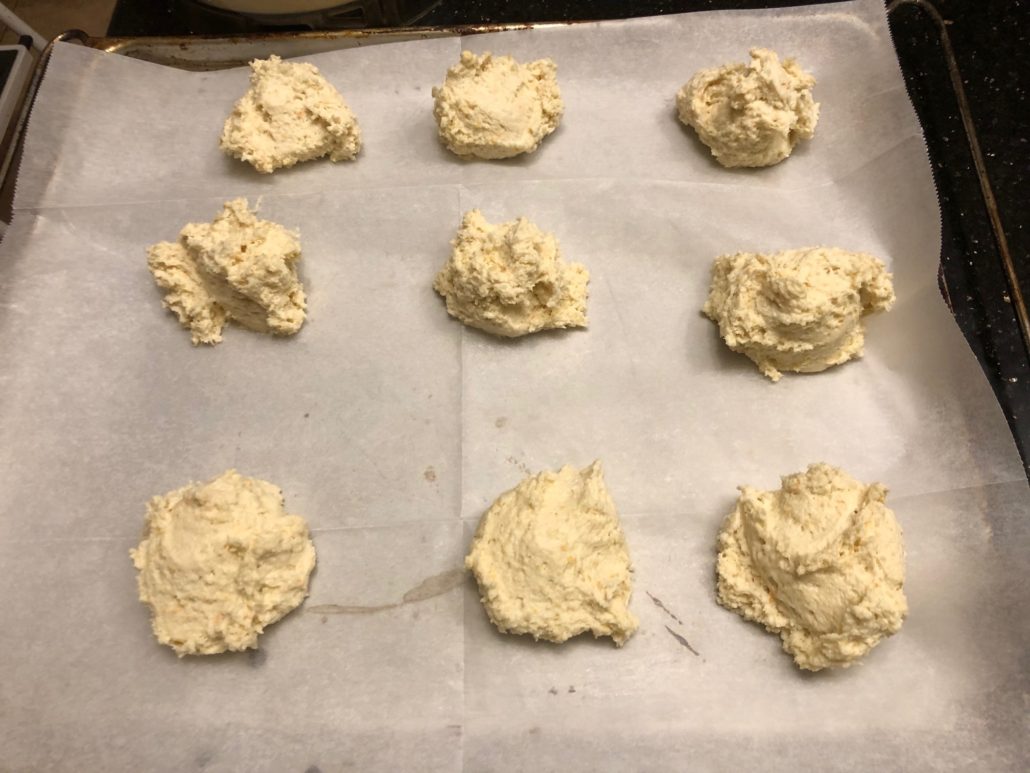
As you can see, this is rougher but a nice rustic look or you can go with the ice cream scoop look:

No question which is neater but either way is fine.
Bake them at 400 degrees in a preheated oven (no cheating and make sure you give oven 15 minutes to heat) for 10 minutes, turn sheet around and bake another 10 minutes for a total of 20 minutes. They should be beautiful and golden brown.

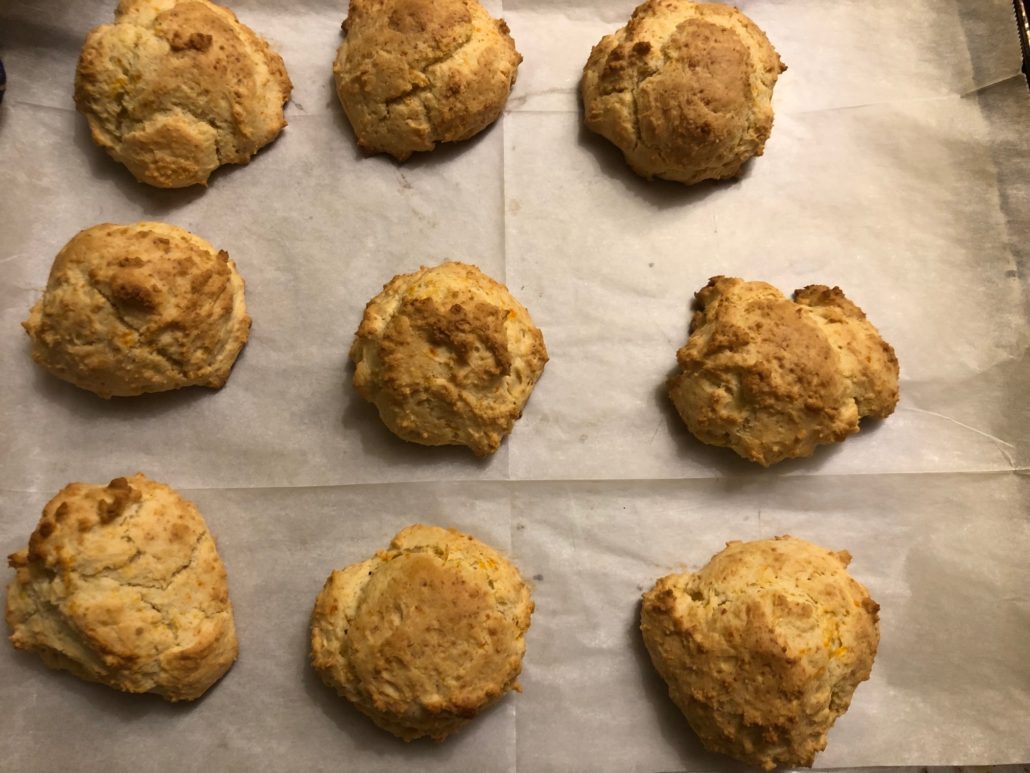
As you can see, they end up fairly similar so it’s up to you how you prefer to scoop them.
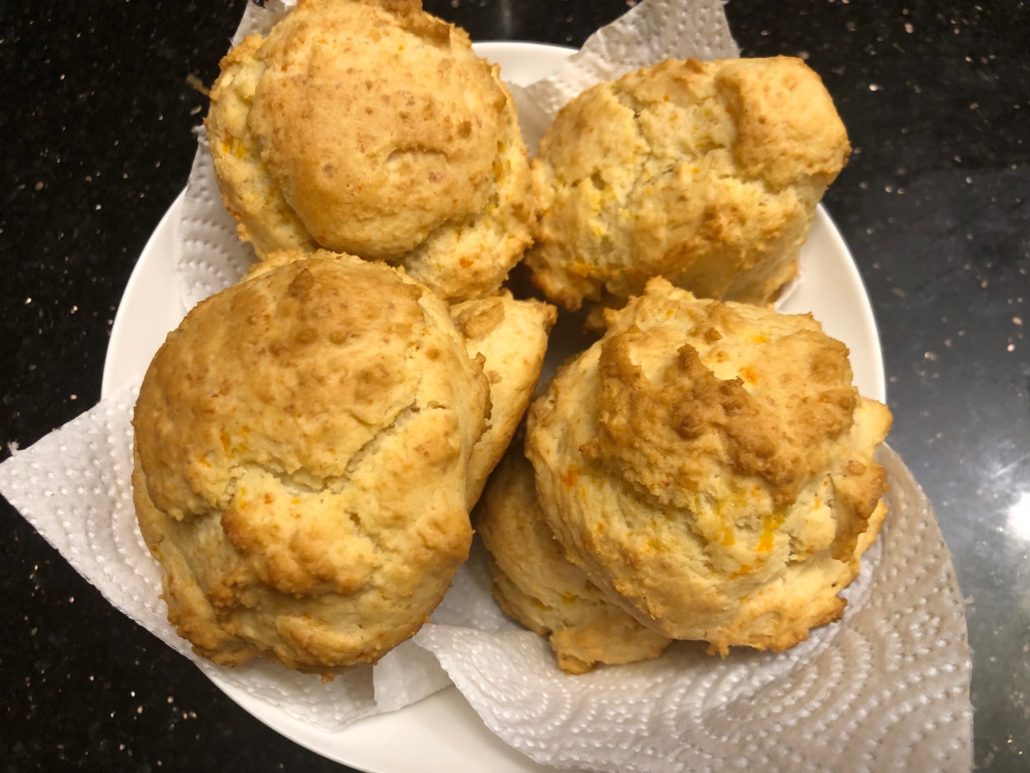
And then take that first bite and yummmm
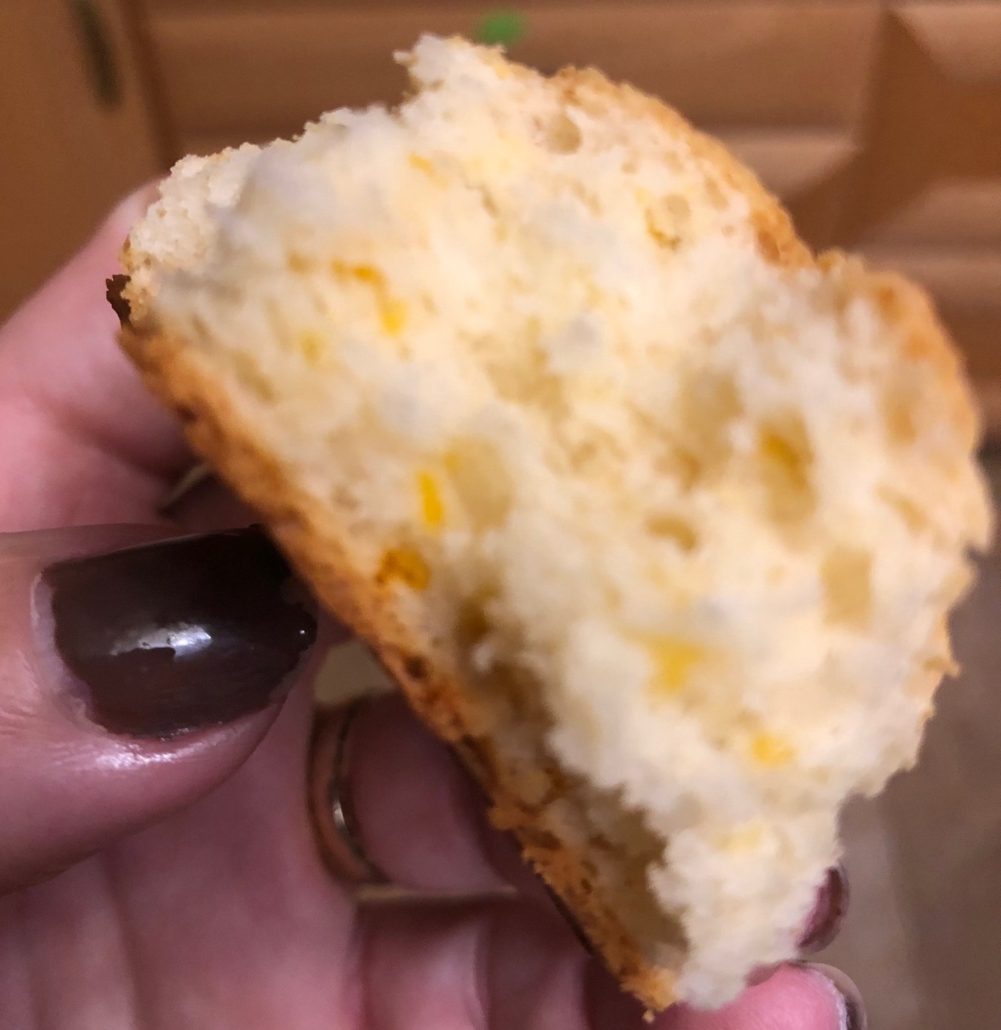
Crispy, flaky, fluffy with cheese bits throughout. A taste of home, southern style.
Cheddar/Smoked Cheese Drop Biscuits
3 1/2 cups all-purpose flour
2 tablespoons baking powder (yes, tablespoons, you need the leavening lift)
1 rounded teaspoon salt
1/2 cup (125 grams) cold unsalted butter
1 1/2 cups grated cheddar cheese or smoked cheese
1 plain yogurt + enough milk to equal 1 3/4 cups
1 large egg
This yields approximately 18 medium biscuits, if you choose to make 10 big ones, baking time is the same.
Directions:
Preheat oven to 400 degrees.
Combine the flour, baking powder and salt in food processor with a whirl.
Cut the cold butter into chunks and add to dry ingredients, pulsing on and off until mixture looks like little lumpy crumbs. (See pic above) Add cheese and pulse briefly. Add yogurt/milk and egg and pulse just till mixture comes together.
Line baking sheet with parchment paper.
Taking 2 tablespoons, scoop and drop the biscuits into a rounded shape, or use an ice cream scoop, spacing about 2 inches apart. Bake in hot oven for 10 minutes and turn pan around and continue baking another 10 minutes. Your biscuits should be golden brown. Remove from oven and pile into napkin lined bowl and try not to gobble them all up yourself!
A note, these are far and away best when eaten the same say they are made, although you can freeze the baked biscuits and heat them in a toaster oven once defrosted. I have baked the other half of the biscuits if we are a small number the next day (refrigerating the dough) but I won’t lie, it’s not quite as good. Still yum but not as crispy and flaky, be warned. However, one good thing is you can split and toast them the next day and eat them with butter, jam or even tuna or salmon salad which I did when I took some to work with me for me and DH. Delish.


Leave a Reply
Want to join the discussion?Feel free to contribute!