
Chocolate Mousse Ice Cream
I’m a big chocolate fan and when I want a special treat other than a delectable piece of chocolate, I think of chocolate mousse. When done right, it should be deeply chocolatey, creamy and smooth and very rich. So rich, in fact, that I find that small portions suffice.
I’ve played around with mousse recipes for a long time trying to get that perfect combo of chocolate depth and smooth creaminess and have finally found a combination that I’m happy with. I warn you, it’s addictive.
First, take four large eggs and separate the whites from the yolks and beat the whites till firm with a cup of sugar.

Note that the egg whites are a bit glossy and the beaters leave a mark in them.
With egg whites, you must be certain there is no yolk in the raw whites or they will not beat up properly. If some does fall in there, you can usually fish it out quite neatly with the half eggshell, it practically sticks to it.
Next, I did a cheat since you need to whip the cream/Rich’s Whip (dairy or non-dairy) till fluffy as well. Once the whites are properly beaten, you can add the COLD cream (keep in fridge till ready to add) to the mixture, adding the cream slowly as you beat on high speed and it will beat up nicely.
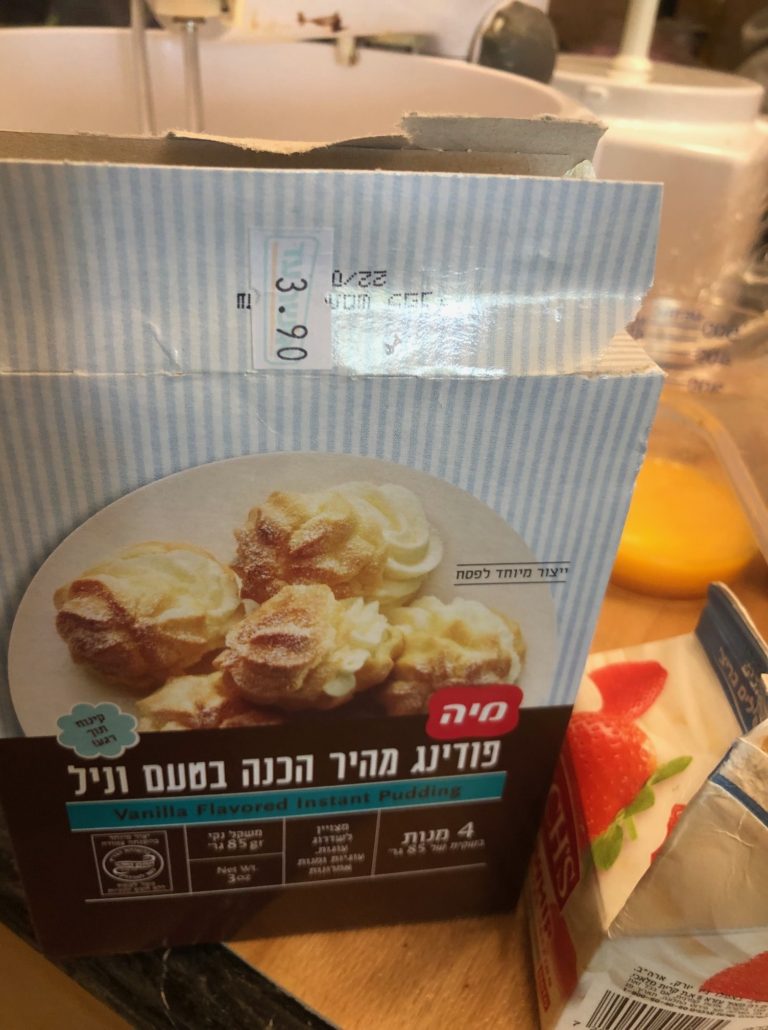
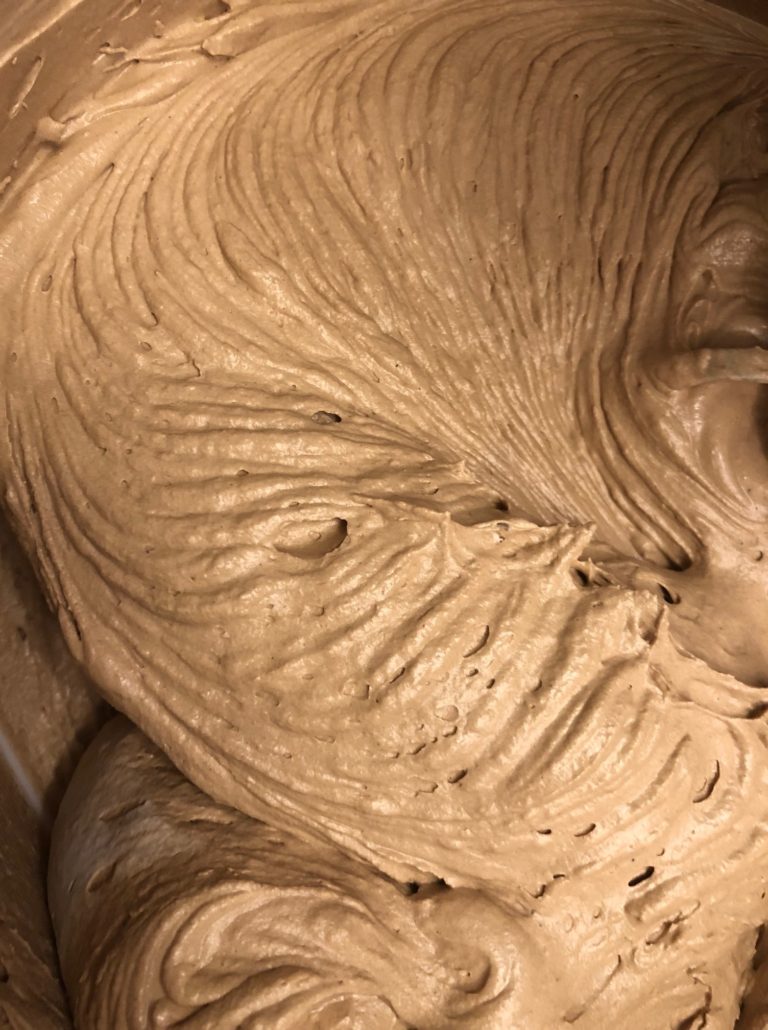
add in instant vanilla pudding (the whole 85 gram package) powder gradually while beating and it should look like this

Look how thick and creamy that beats up! Part of the reason for adding the vanilla pudding (aside from flavoring and thickening) is that it also help prevent the icy crystallization that sometimes happens when you freeze this.
Now although I’ve never just frozen the mousse like this, I’ve tasted it and if you wish to make vanilla mousse ice cream, just add the egg yolks, beat well and you’re done! However, if you crave the chocolate, keep reading 🙂 .
Now beat in the yolks on medium speed just till combined.
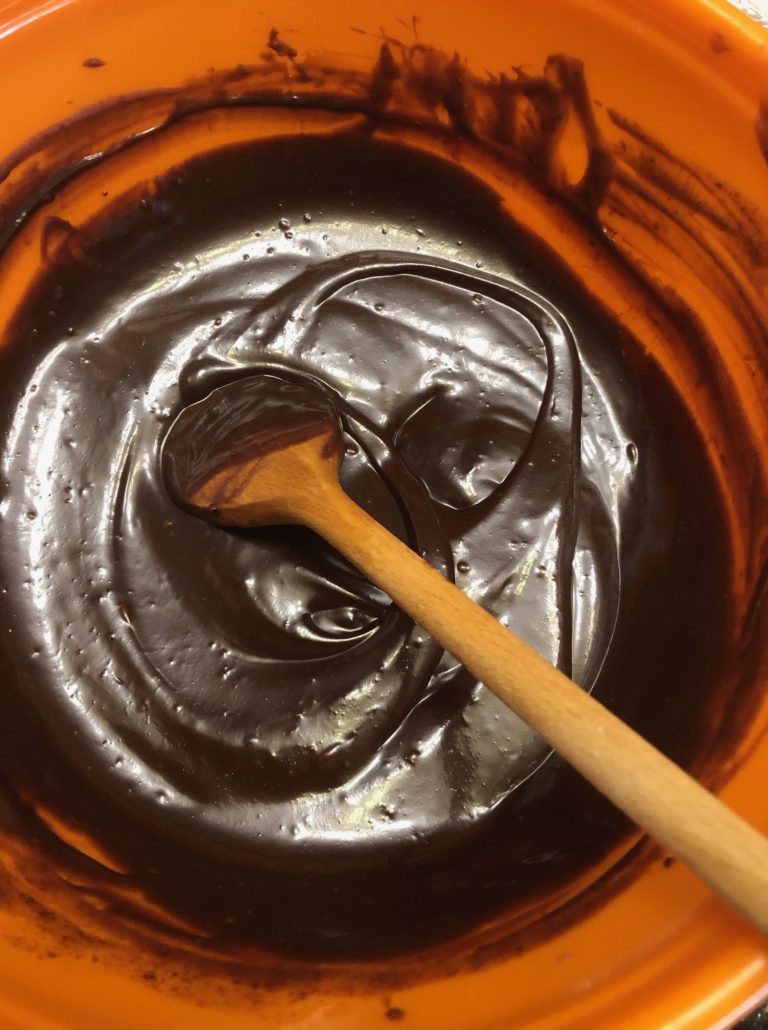
I use 2 Rich’s Whip for beating with the egg whites but keep a third container for melting the chocolate. Take your chocolate and if it’s not small chips or buttons or melts, chop it up enough for quick melting. Then, I have found the easiest way and least likely to overcook the chocolate and prevent it seizing, is to heat the cream to just starting to see bubbles and immediate pour over the chopped chocolate in the bowl and cover with tin foil or plastic wrap for a few minutes and then remove and stir vigorously till fully melted and glossy.
Ya wanna dive right in to that, no? Let this cool sufficiently and slightly thicken up but don’t let get too thick or it will be more difficult to incorporate into the whipped mixture.
Once cool enough (on you counter, not your fridge or it will get too hard) stir again to make sure it’s liquidy enough to add and with no shame, stick your finger into the mixture to test that there is no heat in it (or the whipped mix will deflate, oh no!) and of course, lick the chocolate off after, hey you have no choice, right? 🙂 and you then know for sure if it’s too hot or not. It doesn’t need to be cold, just room temp.
Then start the mixer again on medium and slowly pour/scrape the not too thick chocolate mixture into the whites/cream/vanilla mixture.
I’ve had fantasies of swimming in this, just kidding, maybe.
Now you know that I bothered to buy disposable piping bags to help apportion the mousse and Murphy’s Law (what sort of fellow was Mister Murphy, ya gotta wonder!) I searched high and low and couldn’t find the darn things. That’s obvious, right? Of course, now that I’m writing this, I found the package, staring up at me in all innocence like Whut? been here all along. Sigh. Anyway, I reverted to the makeshift piping bag, a ziploc bag which is strong enough to both hold the mousse and be manhandled whilst you pipe it.
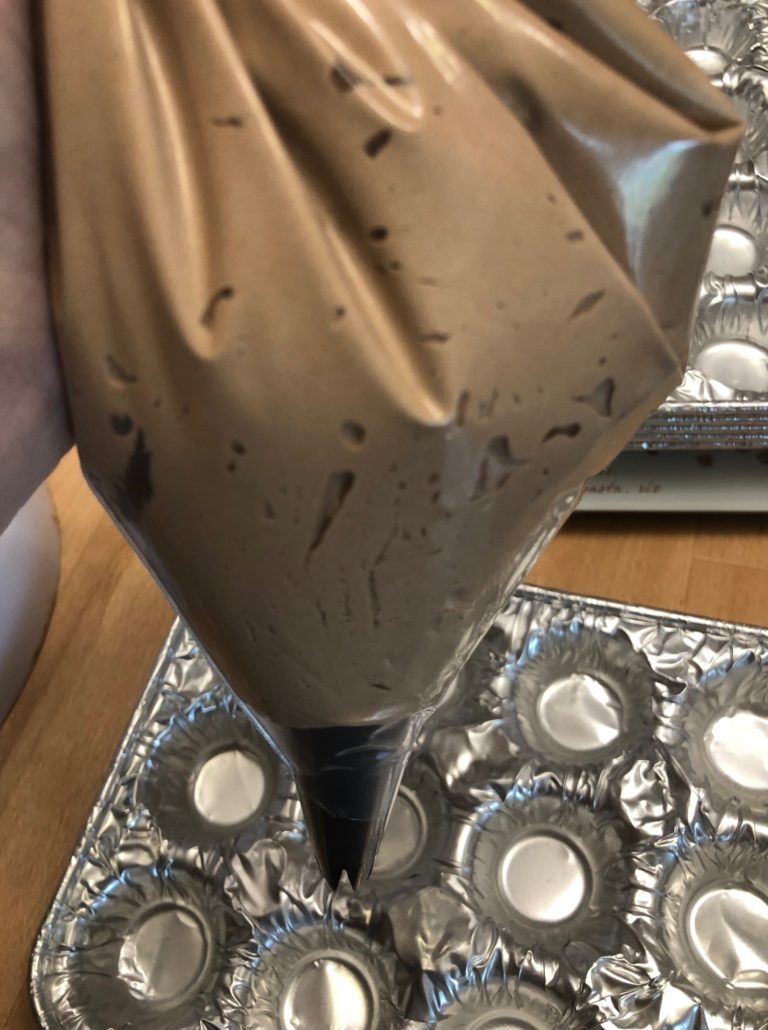
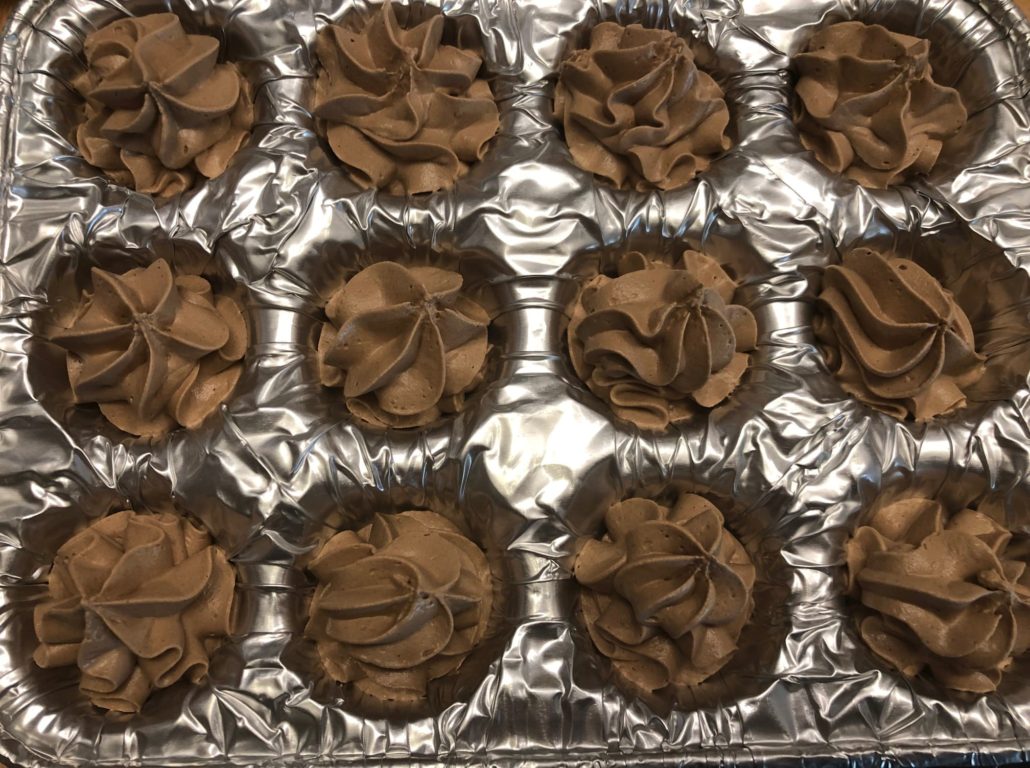
You can snip off the corner of the bag, as I did and I inserted an open star tip although you can simply pipe it out of the snipped corner and swirl it in a circle. The piping tip makes it extra pretty. Your choice. I piped directly into disposable mini muffin pans for freezing to make for lovely plating of the mousse.
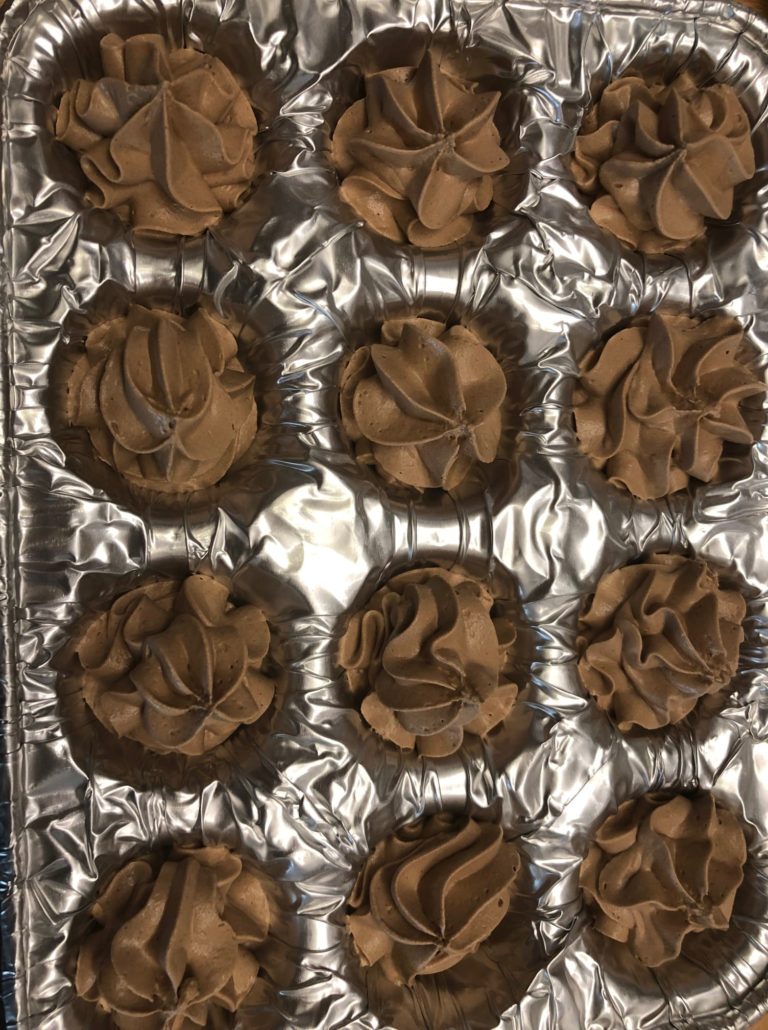
So pretty. I then freeze them as is, only covering with plastic wrap lightly after they are frozen so as not to mess up the pretty shape.
Now since they are small, you can serve on a small plate, either one or two, or you can plate on a regular cake plate with a slice of a light fresh cake like Paulette’s sponge cake
https://kosherfromjerusalem.com/2018/06/21/paulettes-orange-sponge-cake-with-my-cheat/
as a nice plate and a wonderful combo of flavors. This will wow your guests and more importantly, yourself!
For a nice and quicker alternative, line a loaf pan with plastic wrap and spoon the mousse in. Level it, cover with more wrap and freeze. Slice into slices and garnish with some fruit, berries or even a mint leaf.
Chocolate Mousse Ice Cream
4 eggs, separated
1 cup white sugar
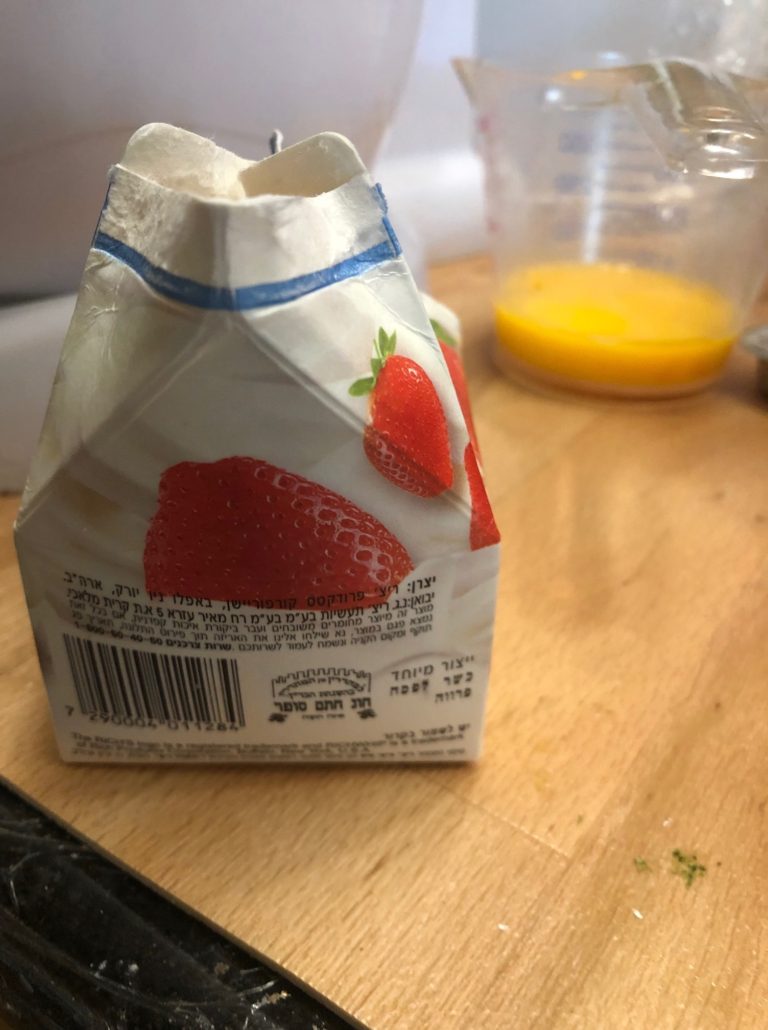
3 small containers of Rich’s Whip , or a little more than 2 1/2 cups or 21 1/2 ounces, or 636 ml keep 2 cold in fridge till you need to whip them, 1 container is used to melt the chocolate OR heavy whipping cream
10 ounces or 280 grams of dark or semi-sweet chocolate, chopped or if using chocolate chips approximately 1 3/4 cups
1 package instant vanilla pudding (dry) 85 grams or 3.5 ounces
Directions:
Take out your mixer and put in the whites using the whisk attachment and whip those suckers, adding the sugar gradually, till slightly glossy and the whisks leave marks in the whites (see pic above). Take out the cold cream/Rich’s Whip and with the mixer on high speed, slowly pour the cream into the egg white mixture (yes, yes, right on top but slowly and the cream MUST be cold) till nicely whipped and immediately sprinkle on top at medium speed the whole packet of dry vanilla pudding till mixed. Next pour in the egg yolks at medium speed till incorporated. It will be a nice beige color and thick and fluffy. Set aside.
Have your chopped chocolate in a bowl (or chocolate chips) and take your last container of cream (or 7 ounces) and heat gently in a pan on low heat just till you see bubbles forming (or in a microwave at controlled bursts but it’s trickier, the pan works better). As soon as you see the cream is just on the verge of boiling, take off the fire and pour over the chopped chocolate. Cover with tin foil or plastic wrap for 2 minutes. Then take a spoon (I like wooden for this) and stir stir stir vigorously till shiny, smooth and no bits of chocolate remain. Let cool just till room temp. If you suddenly got a call and lost track of your chocolate and it hardened up and isn’t pourable, don’t panic! You can save it by zapping in the micro for about 15 seconds and re-stirring it and it should be just fine. Stick your finger in it – really – and check that it’s not hot but rather room temp and stir once more. Then with mixer on medium, add chocolate mixture to whites/cream/vanilla powder mixture, scraping all that yum chocolate into it and whipping just till combined thoroughly, not longer.
Now comes the fun part and I don’t just mean licking the spoon. Take a piping bag or a ziploc bag with the corner snipped off and pipe into mini muffin pans. You can pipe into regular muffin cups if you like or even into a plastic wrap lined loaf pan which will produce beautiful slices, if you prefer and have no patience for the piping. Cover lightly with plastic wrap and freeze till frozen, approximately 2-3 hours. This is lovely on its own, or if served in small portions, wonderful with slices of orange sponge cake (see above). Umyummmm.


Leave a Reply
Want to join the discussion?Feel free to contribute!