
Multigrain Bread from Living Magazine
As someone who always is patchka-ing (fussing) in the kitchen, I’ve tried many many recipes for good wholegrain or multigrain breads. Some have been epic fails which you choke down and I have even tossed some of them and yes, felt guilty. The problem is finding that happy medium between hearty and weighs a ton and sits like lead in your stomach. Also, just putting a million grains into a bread doesn’t work and can wind up just tasting weird.
I will confess that I don’t usually pick up the Martha Stewart Living magazine since many of her recipes are (in my opinion) unnecessarily complex and I try, even when fussing, to simplify not complicate. However, this one caught my eye and I’m so glad it did. After reading her calendar about activities for the month (her own personal ones) and just reading it exhausted me, I flipped on and found a basic white bread recipe which they convert into a multigrain bread. I have been making this recipe ever since. It is one of the most delicious multigrain breads I’ve ever eaten and even people who are not fans of whole grain bread love this. Though of course, I tweaked it.
https://www.marthastewart.com/340230/multigrain-bread
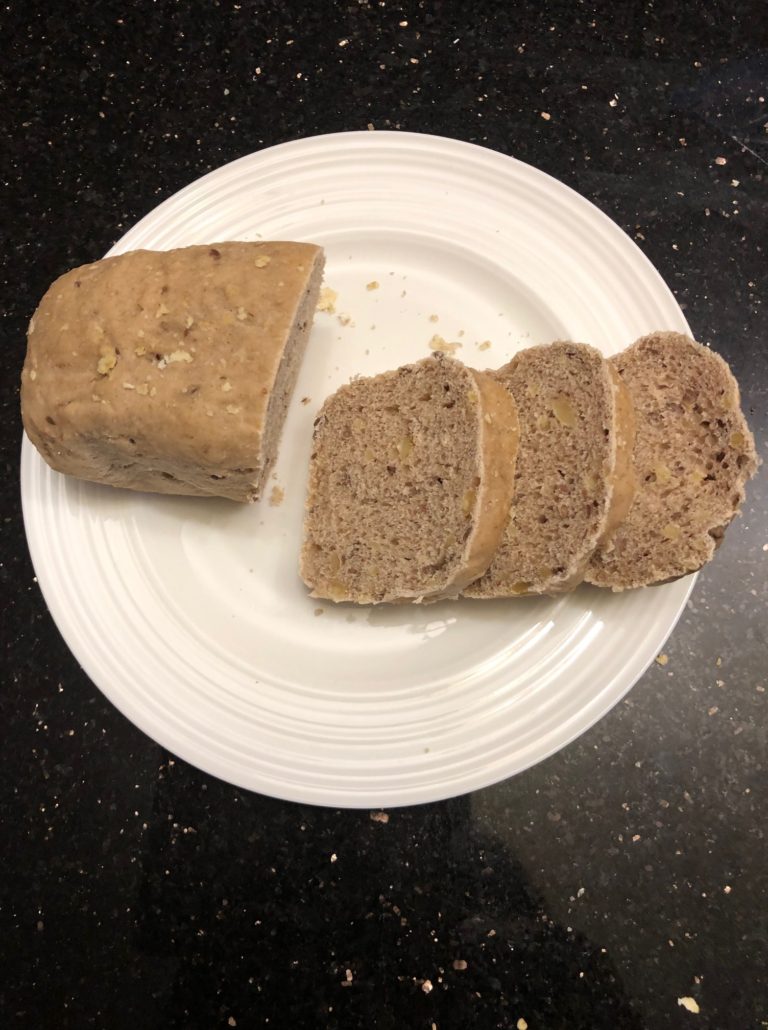
What especially appeals to me is it has a springy texture and while hearty is not dense like a hockey puck (yup I’ve had those even when following the recipe to a T and not changing one single thing. And I’m a good baker, trust me). It has a lovely mixture of grains in it without overloading the bread.
Warning, warning however. It is so yum that DH ate 3 rolls of it and he practically needed to recover! (I wasn’t in the kitchen to warn him 🙂 ) It is a serious bread – nearly biblical in the sense that you have 2 slices of this (or two rolls) and you are as satisfied as though you’ve eaten a whole meal.
Because DH loves walnuts in his multigrain bread, having eaten this type elsewhere, I tossed that in as well and it works well. I put half a cup into a baggie, knotted it and whacked it a coupla times with a rolling pin, thereby both getting out my aggression 😉 and making sure the walnuts were easily crunchable in the bread. It also calls for flax seeds and sunflower seeds and though I try to keep a supply in the freezer, don’t always have them available but it adds a nice dimension to the bread.
Of course, I made a few changes to the recipe – I prefer the taste of brown sugar in bread to honey and switched out the butter to oil to keep the bread non-dairy and a few other items. I promise you I thought the temp of the oven was for 350 degrees but online says 400. Hmmm. I baked it at 350 for 21 minutes for the rolls and 23 minutes for mini loaves and they came out perfectly – for a regular loaf pan 25-30 minutes, check carefully. If you up the temp you probably get a crustier loaf HOWEVER, it has been my experience time and again that it only pays to do that if you will eat the bread right away. If you bag and eat it the next day or freeze it, it “decrustifies” i.e. the crust softens which does not ruin the taste of the bread but rather the whole reason you baked it at a high temp. Hence, I usually will only bake on high for something like Oded’s garlic bread (recipe to follow at a later date) since you can even freeze his individual long rolls and defrost and bake when needed and get that crusty yumminess, but I digress.
I also used white whole wheat flour for all the basic flour so I get a completely whole grain bread, thus a bit more water is necessary. What can I tell you, this bread is worth every bite and after chowing down on it for breakfast (in moderation), I’m still not hungry and it’s nearly 1 PM. With this recipe, bread truly is the staff of life.
Multigrain Bread
1/3 cup bulgur (cracked wheat)
1/2 a cup hot water
1 tablespoon and 1 and 1/2 teaspoons of yeast for those living in the States, it’s 2 envelopes 1/4 oz. each
1/2 a cup very warm water (this is not a mistake, you need twice separately 1/2 a cup of water. Once for the burgul and once for the yeast).
3 tablespoons and 2 teaspoons brown sugar
6 cups white whole wheat flour- this is emphatically not the same as regular whole wheat flour which is much denser. This is similar to a pastry flour, that is the difference between a bread that will be very heavy and one that is hearty, be aware!
1 cup rye flour (I used wholegrain for this as well)
1/2 cup oats plus a little more for sprinkling on top of the breads
2 tablespoons salt
1/4 cup flax seeds The seeds (both kinds) are optional but I feel add a lot to texture and are yummy.
1/4 cup sunflower seeds
1/2 cup walnuts (which I whacked to smaller pieces, see above) optional
2 cups very warm water
1/4 cup canola or other mild oil
an egg white for wash to cover the tops of the breads. This gives a nice brown color to the loaves or rolls but I often skip this and just oil spray the tops instead
Directions:
Preheat your oven to 350 degrees.
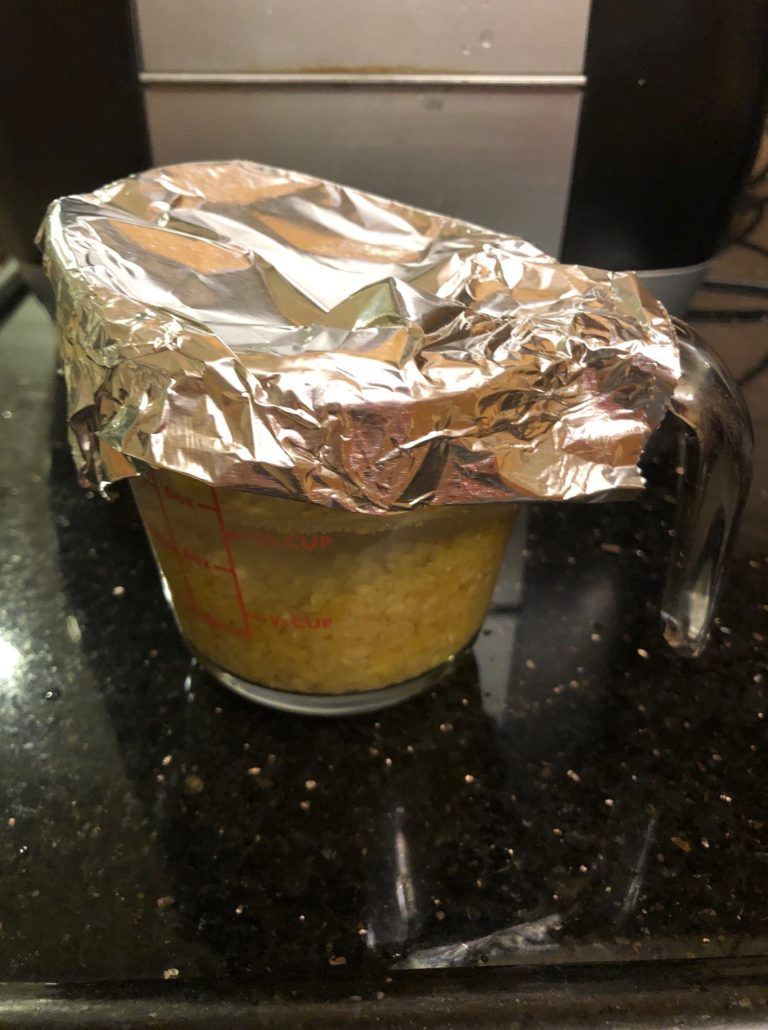
Take a small bowl or pyrex cup and measure into it 1/2 a cup of very hot water. Pour into that 1/3 cup of bulgur. Cover with plastic wrap or tin foil and set aside for about 20 minutes. It’s okay if not all the water is completely absorbed.

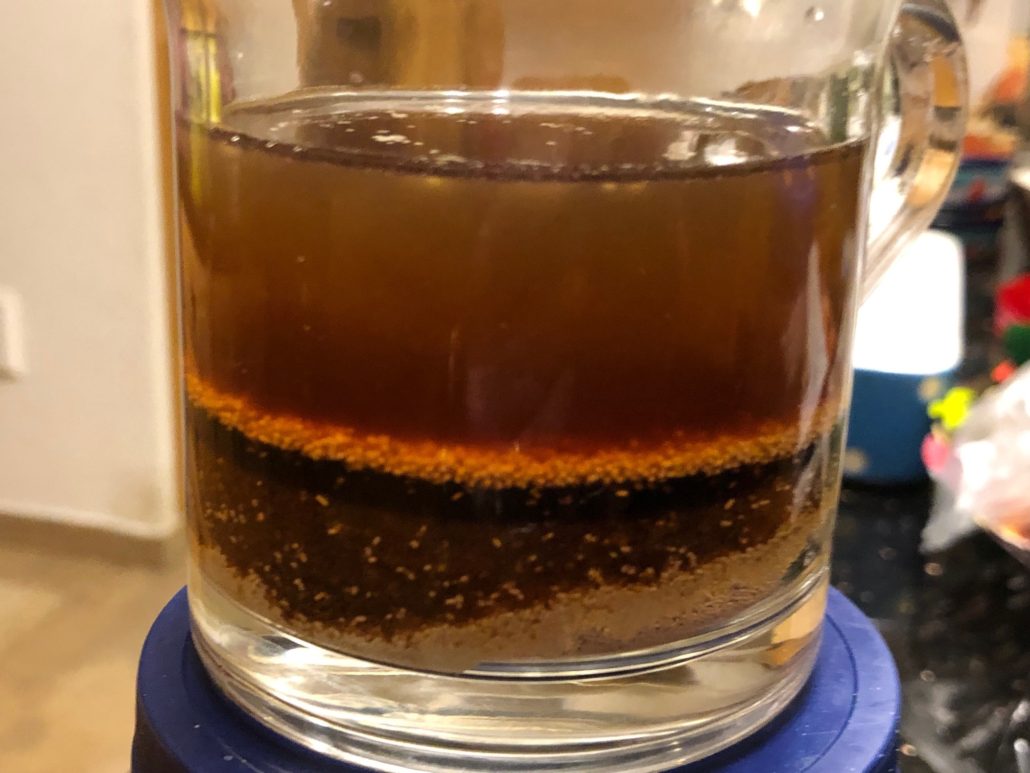
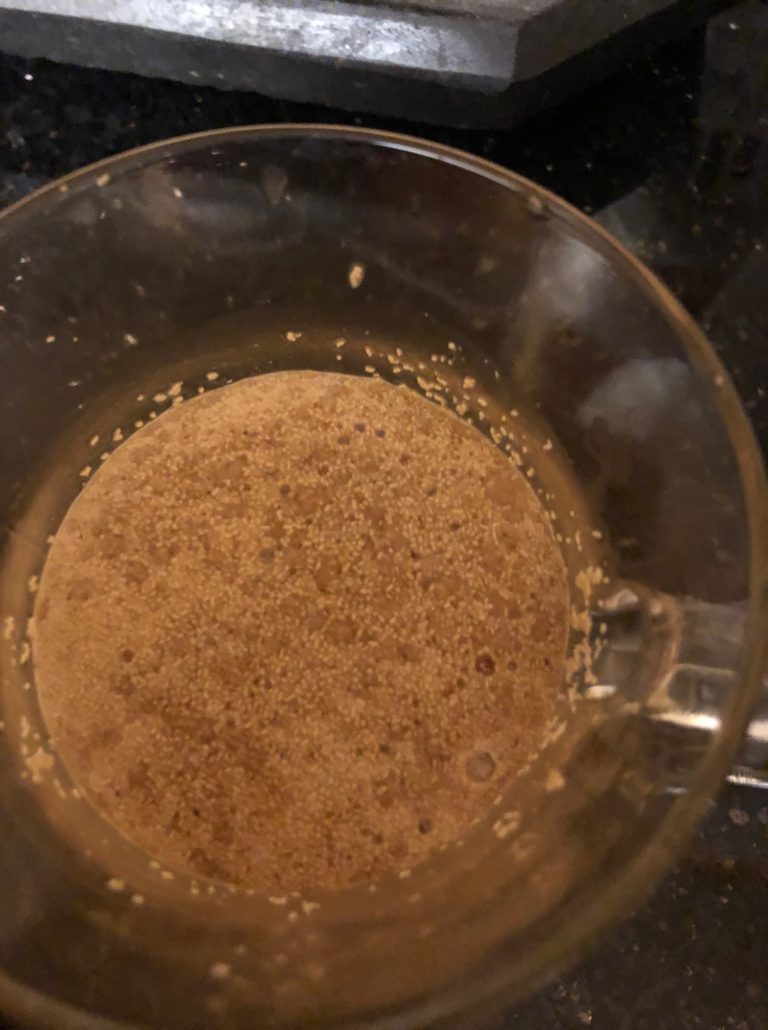
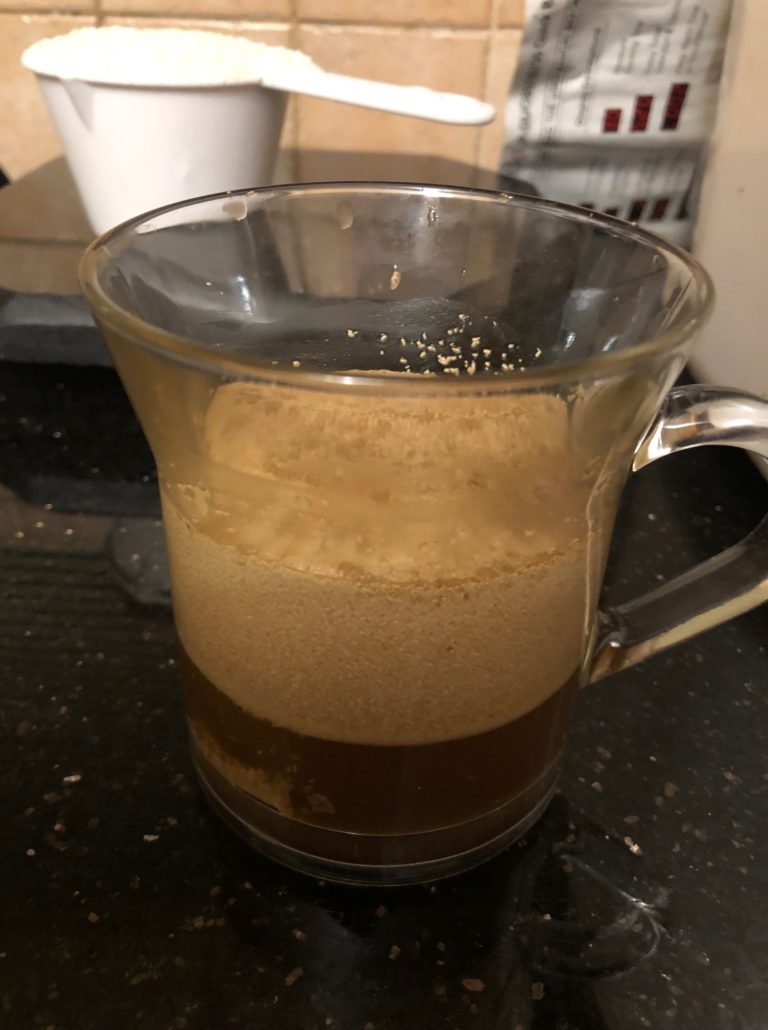
Next take a glass or small bowl and proof the yeast. This is to make sure it’s alive and kicking and will raise the bread properly. Put the brown sugar, 1/2 cup very warm water and yeast together. Stir well.
Now I’ve been blessed by having a bread maker which I have for years (my old one died a valiant death but also was a work horse for many years) and it unquestionably simplifies bread making but you can mix all this in a stand mixer beautifully. My trick is to first use a paddle beater and when just mixed, switch to a dough hook to properly knead the dough. Please be sure not to overload the motor. This recipe is over a kilo (2.2 pounds) so know your mixer’s limitations.
So, put into your mixer bowl (or breadmaker) the flours, salt, seeds, oats, walnuts (if using) and mix till combined. Add the cooled somewhat (can be warm just not hot, don’t wanna kill the yeast) bulgur and water mixture. Add the yeast mixture and oil. Mix and slowly add the water till a nice dough forms. This was mixed with your paddle beater just till incorporated and then you switched to your dough hook to knead the dough until it is springy and pliant.
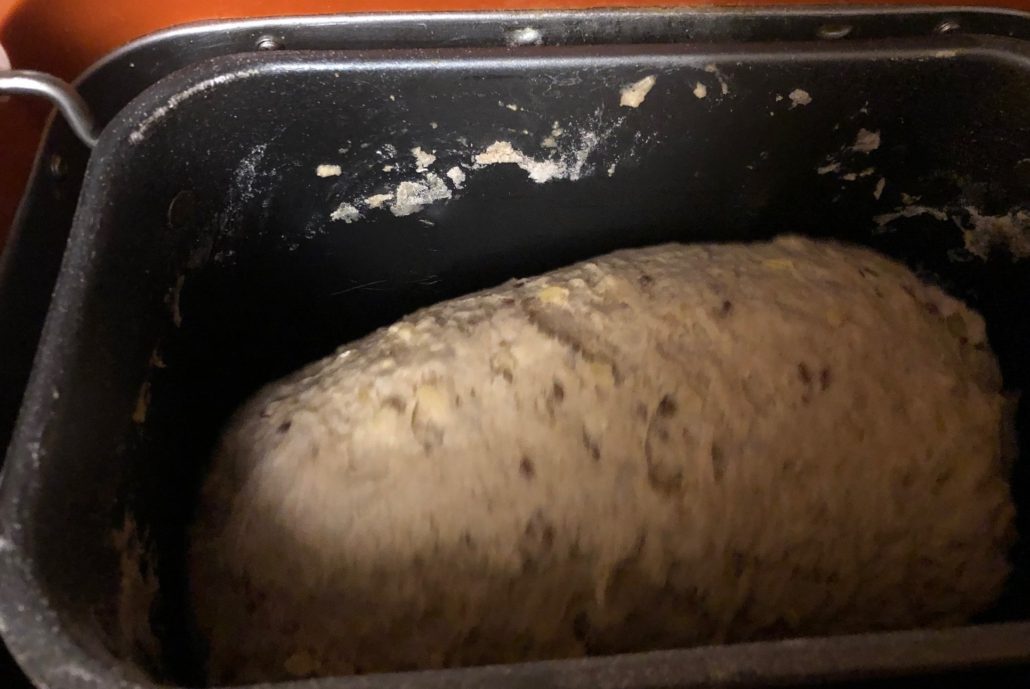
If in a breadmaker, it has its own warming stage and you know you can let it rise on its own. If in a mixing bowl, oil the dough and turn it so all sides are oiled. This prevents the dough from cracking and drying out. Next cover bowl with a tea towel or oil sprayed plastic wrap (the oily part face down) to let dough rise for about an hour or till doubled in bulk. I don’t even punch the dough down. I just oil my hands and pull off dough as needed.
Now you have a choice. It’s mostly just me and DH at home so although I’d like to devour the whole recipe in one sitting, not happening. So you can divvy these into rolls or mini loaves or 2 regular sized loaves. I got 24 rolls and one mini loaf out of this recipe.
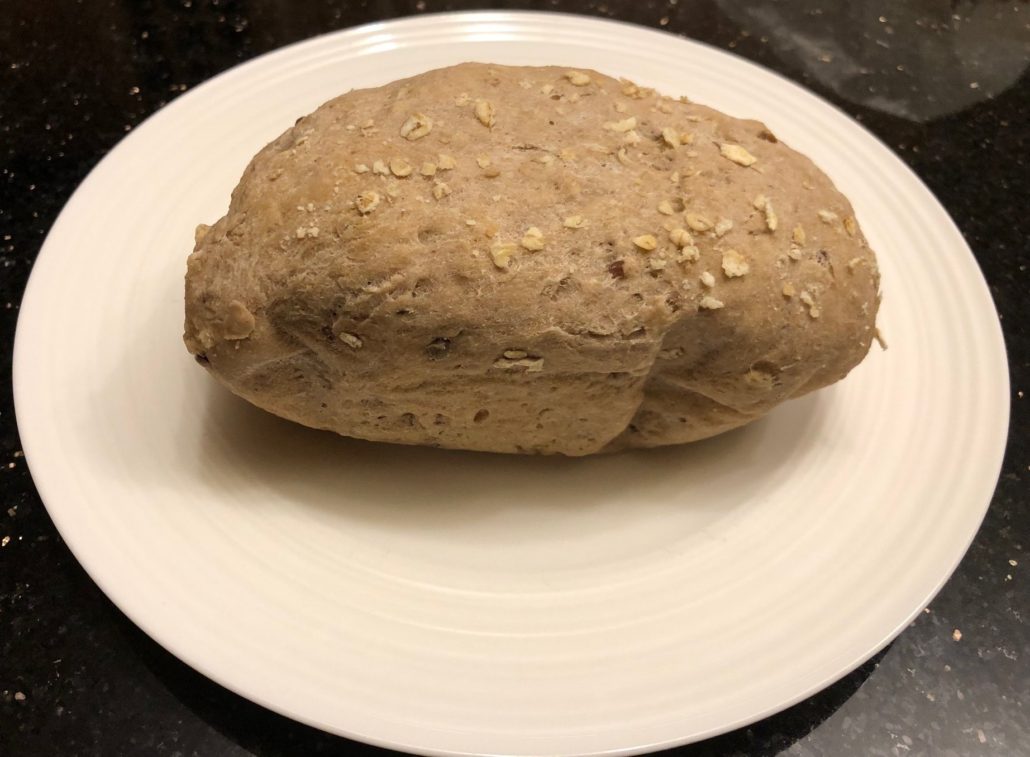
Shape the rolls or loaves – for rolls I apportion them into muffin tins or these wonderful square “muffin” tins (from Wilton) and oil spray the pans before laying the shaped rolls into the tins. I used parchment paper for the mini loaf since I foolishly bought a cheaper brand than Wilton for those and they stick horribly if you just oil spray them. Sigh, fool me once…
Since these are for everyday consumption, I just pat them into a round shape. The dough’s texture should be just a tiny bit sticky. Don’t add flour (you don’t want it to get dense) rather oil your hands to shape them. I just spray oil spray on the dough and on my hands. It works wonderfully.
Now you can take the egg white add a tablespoon of water and mix and brush on rolls (this gives you a nicer brown color but sometime I just don’t as above) or spray with oil and sprinkle the additional oats on top. Pretty, no? Cover the pans with either a towel or plastic wrap (yup oiled, so it won’t stick to the dough as it rises) for about 1/2 an hour to 45 minutes.. The dough will rise above the pan about an inch or so.
A mini loaf should take approximately 23 minutes in the oven, the rolls between 18-21 minutes (the bottoms should be lightly browned) and a regular loaf between 25-30 minutes. Be warned that if you don’t use the egg white, the color of the loaf is a little pale so don’t overbake, it will not turn golden brown. If this will disturb you, go with the egg white. 🙂
These freeze beautifully so bear that in mind – if you don’t gobble them up you know they store well.


Leave a Reply
Want to join the discussion?Feel free to contribute!