
Sweet Challah Recipe – Two Ways
There is nothing quite like the scent of freshly baking challah wafting through your kitchen. It goes beyond bread baking and satisfies something deep in your soul. I have been baking challah almost since I became a bride lo these 40 + years ago.
I think many people are intimidated by making yeast breads in general and since, once you get the hang of it, it’s fun to make and fills the whole house with both amazing smells, and gives you joy that with simple instructions I truly believe this is something people can master. I like to call it play doh for adults.
There are professional techniques, however, as a non-professional cook and baker with over 40 years experience in challah baking, I like to simplify the steps for people. I have a few different versions of my challah that I have tweaked over the years and am still playing with it (because I can!) but will start with my basic version that I used for many years and which I have freely given to many young ladies who came to Israel to study in seminary and I’ve discovered that it’s gone around the world (England, Australia, U.S. & Canada amongst other areas).
(I use dry instant yeast because it’s far less temperamental than fresh and lasts far, far longer. It can be stored in the fridge (which extends it’s lifespan and then when you are in the mood to bake with yeast, it’s patiently awaiting you ).
Proofing the yeast
I nearly always proof the yeast first. This means, since yeast is an organism which is alive (microscopic, fear not) and feeds on sugars to cause the bread dough to rise, you want to make sure that it is in fact alive and kicking. Hence proofing: take the 1 or two tablespoons of yeast (more yeast, faster rising but don’t get crazy and use 1/2 a cup. Nay nay, bad, this will make the yeast go nuts and utterly ruin your dough, so have a little patience 😉 ) and put into your mixer, bread maker or bowl. Add the two tablespoons of sugar and pour half a cup of your 2 and 1/2 cups of luke + water on top of it. Stir gently, cover with a towel or plastic wrap or lid and give it 5-10 minutes till you see the fermentation beginning which is bubbly grayish brown.
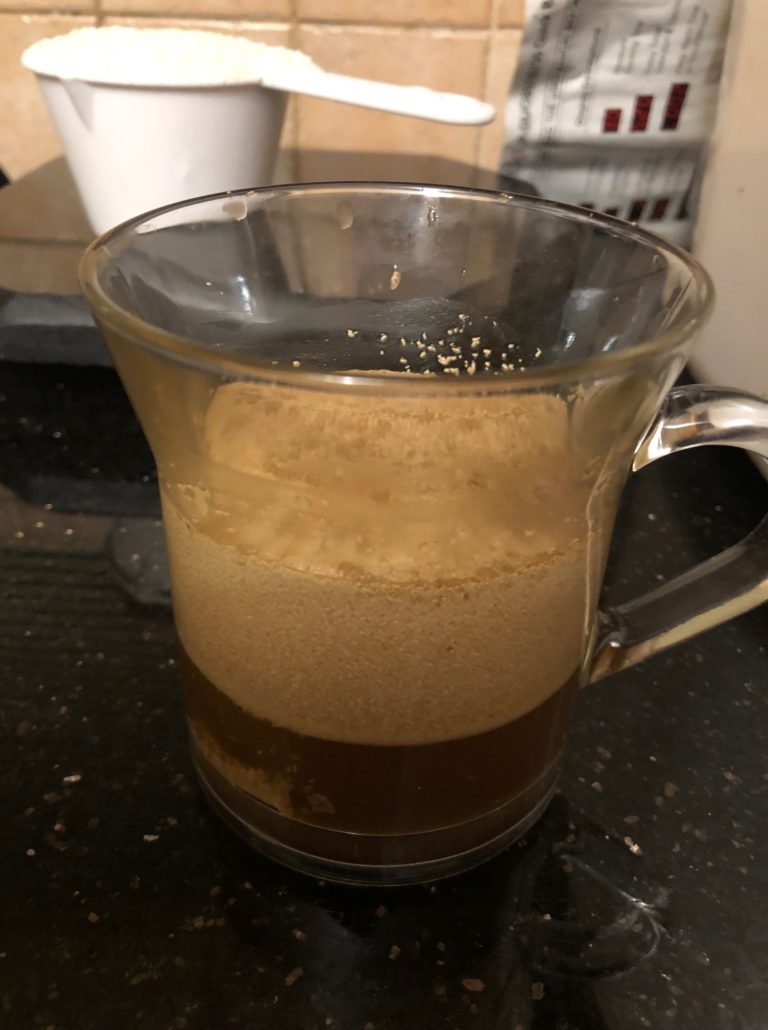
Don’t let this freak you out, that’s what’s supposed to happen, even if it doesn’t look that pretty. Now you may proceed, the yeast works, G-d willing, the dough will rise.
Preparing the dough
If using a mixer, first be certain it can handle a kilo + of ingredients so you don’t burn out the motor. Mix the salt with some of the flour. Since it’s function is to retard the yeast from getting out of control, do not put directly on yeast since it can kill it. No need to be stressed by this, just mix with flour, no prob. Then you can pretty much put everything in together. I know you are pulling out your dough hooks but STOP! I’ve found time and again, it doesn’t properly mix the ingredients together. First use the paddle or beater attachment to mix everything together. If your mixer has a lid, put it on before since this is a big load and things can jump right out on the counter and make a terrible mess. Alternatively, cover with plastic wrap till the mixture is incorporated. Once it’s just barely mixed, you can switch it out for the dough hooks and let it knead like mad, at least 20 minutes.
If using a bread maker, put it on the dough function and then I put the yeast and sugar and 1 cup of water in first and close the lid till bubbly, then add liquid first and dry ingredients afterwards, usually helping the mixture with a spoon (it’s a very thick dough initially) and it then kneads it beautifully.
While this CAN be done by hand, to be honest, I don’t really recommend it since it’s a great deal of physical work and rarely comes out as fluffy and smooth as when using a mixer or bread machine. However, if you have no other option but making by hand, incorporate the dough and as soon as you’ve succeeded in forming a mass/ball of dough, put in a lightly oiled bowl and cover with oiled plastic wrap or a damp towel and let rest for 10 minutes. After 10 minutes, the gluten in the dough relaxes enough for you to continue kneading it with much less hassle.
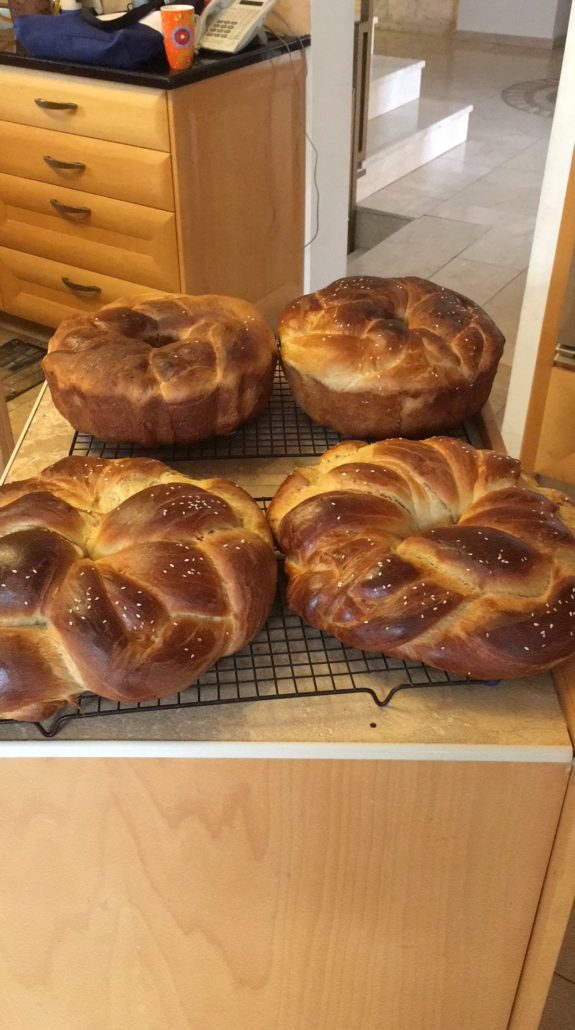
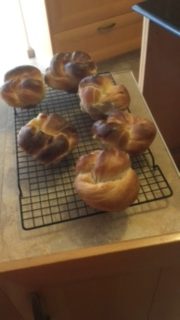
Once the dough has been thoroughly kneaded, let it rise covered (for approximately an hour – an hour and a half. Oiled plastic wrap (so the dough won’t stick to it) is an excellent covering. You will know it’s properly risen when you gently poke it and the mark remains in the dough. Punch down, shape into a braid, with this recipe, you can make 3 medium challahs, or approximately 24 challah rolls (make a knot with the dough and place into greased muffin tins) place into well oiled (I use an oil spray) pan and let rise again for approximately 1/2 an hour or till the dough rises to the top of the pan for the larger loaves and slightly above the top for the rolls.

Bake at 350 for 25 minutes to a half hour for loaves and 20 – 22 minutes for rolls till golden brown. Let cool on wire rack.
Basic Challah Recipe
1 kilo white whole wheat flour, OR white flour, or white spelt flour (2.2 lbs)
1 tablespoon salt
3/4 sugar cup (from which you remove 2 heaping tablespoons to proof the yeast)
2 tablespoons dry yeast
2 large eggs
2 1/2 cups lukewarm + (i.e. a bit hotter than luke) water
1/3 cup of oil (canola, vegetable, soy, etc. NOT COCONUT)
My Newer Tweaked Recipe
1 kilo white spelt flour (2.2 lbs)
1 tablespoon salt
3/4 cup sugar (from which you remove 2 tablespoons to proof the yeast)
2 tablespoons instant dry yeast
3 large eggs
2 cups lukewarm (i.e. a bit hotter than luke) water, you might need 1/4 cup more
1/2 cup of oil (canola, vegetable, soy, etc. NOT COCONUT)
The instructions are the same for both recipes. This version is a bit richer due to the extra oil and egg, however, it is still lovely and fluffy with the white spelt flour. I’ve gotten into spelt flour since I have 2 nieces and a nephew who have gluten intolerance and have discovered the lovely properties of this lighter flour which imparts a very nice fluffy texture to the dough.
Enjoy!
Directions:
First proof your yeast, take a cup or small bowl and put in the 2 tablespoons of instant dry yeast with the 2 tablespoons of sugar. add 1/2 a cup of your amount of water (very warm not hot) and stir with a spoon. Let proof for about 5-10 minutes or until you see the yeast bubble.
In your mixer bowl place the salt, sugar and flour and briefly whirl with paddle. Add the eggs, oil and the rest of the water, about 1 1/2 cups to the flour mixture and beat just till it comes together. Switch the beater for the dough hook and let the mixture knead for about 15-20 minutes till the dough is soft and pliant. Pour a little additional oil on top of dough and turn to coat in oil. You do this in order to prevent the dough from drying out and forming a “skin” on it. Cover with plastic wrap or a clean towel and let rise about an hour to an hour and a half, depending on the warmth of your kitchen, or perkiness of yeast. All sorts of things factor into the speed of rising so bear this in mind.
After it’s risen (check by gently poking the dough. If the indentation remains, it’s ready to go) punch down the dough and form into three medium challahs, braiding them with three pieces of dough rolled into snakes and braided together. Spray oil a pan (and if it’s not truly non-stick then lay parchment paper over the sprayed pan to fit) and ease the braided challahs into the pans. Cover again either with oiled plastic wrap or a clean towel and let rise another half an hour or till dough rises to be level with top of pan. If you make rolls out of this, you should get approximately 18-24 rolls
While your challah is rising in the pan, preheat the oven to 350 degrees.
Bake medium challahs for 25-30 minutes, rolls for 20-22 minutes or till golden brown and gently turn out of pans to cool on wire racks. If I have extras, I seal them in ziploc bags and they freeze beautifully for over a month.


I can vouch that this tastes great!
Excited to be the first one to tell the world that this challah is awesome!!! Try it and you’ll see for yourselves….
Thanks for recipe!
Best challah by far, only one I make.( Also the white and spelt)thanks again Debbie. Shana Tova to all!!
Thanks so much Rivky! We need to make a date 🙂 Shana Tova to you and the whole family!
Thanks, Debbie!
Love your clear, helpful comments, and this Challah is the best!
Shabbat Shalom from Tel Aviv.
So glad you enjoyed it! Thanks 🙏🏻 Shabbat Shalom from Jerusalem!